An easy guide on how to upload files to Filebase?
Upload your files to The Decentralized Storage using File-base.


Table of contents


No headings in the article.
If you are building a decentralized App, in most cases you need to store your images, files, videos on a decentralized platform like IPFS, File coin or Filebase ,so in this blog we will discuss how you can upload your files to File-base.
Before jumping to code, first lets discuss what is decentralized storage?
So As per name, Decentralized storage means it is not centralized and all of your data is not stored at some data-center that is controlled by some few. In Decentralized storage, users can store their data regardless of centers. This system uses peer-to-peer network-model to achieve decentralization.
IPFS[Inter Planetary File System] is a peer-to-peer hypermedia protocol designed to store and share data in a decentralized manner.Know about IPFS
File-base is the first S3-compatible object storage platform that allows you to store data.More about File-base
So let us start our journey to uploading files to file-base.
Here, we are going to upload files using the command-line , in the next blog I will show how you can do this with user-input and with a cool front-end.
Prerequisites:
- NodeJS installed on your Machine [If not you can install from here Download NodeJS]
-A File-base Account You can create-one for free
-A basic knowledge of JavaScript(of course not mandatory)
So Let's start.
1) Open your Terminal and run this command
mkdir filebaseupload-demo
cd filebaseupload-demo
This will create a new folder named filebaseupload-demo by cd command we will enter in our folder.
2) Run following command
npm init -y
This will create a package.json
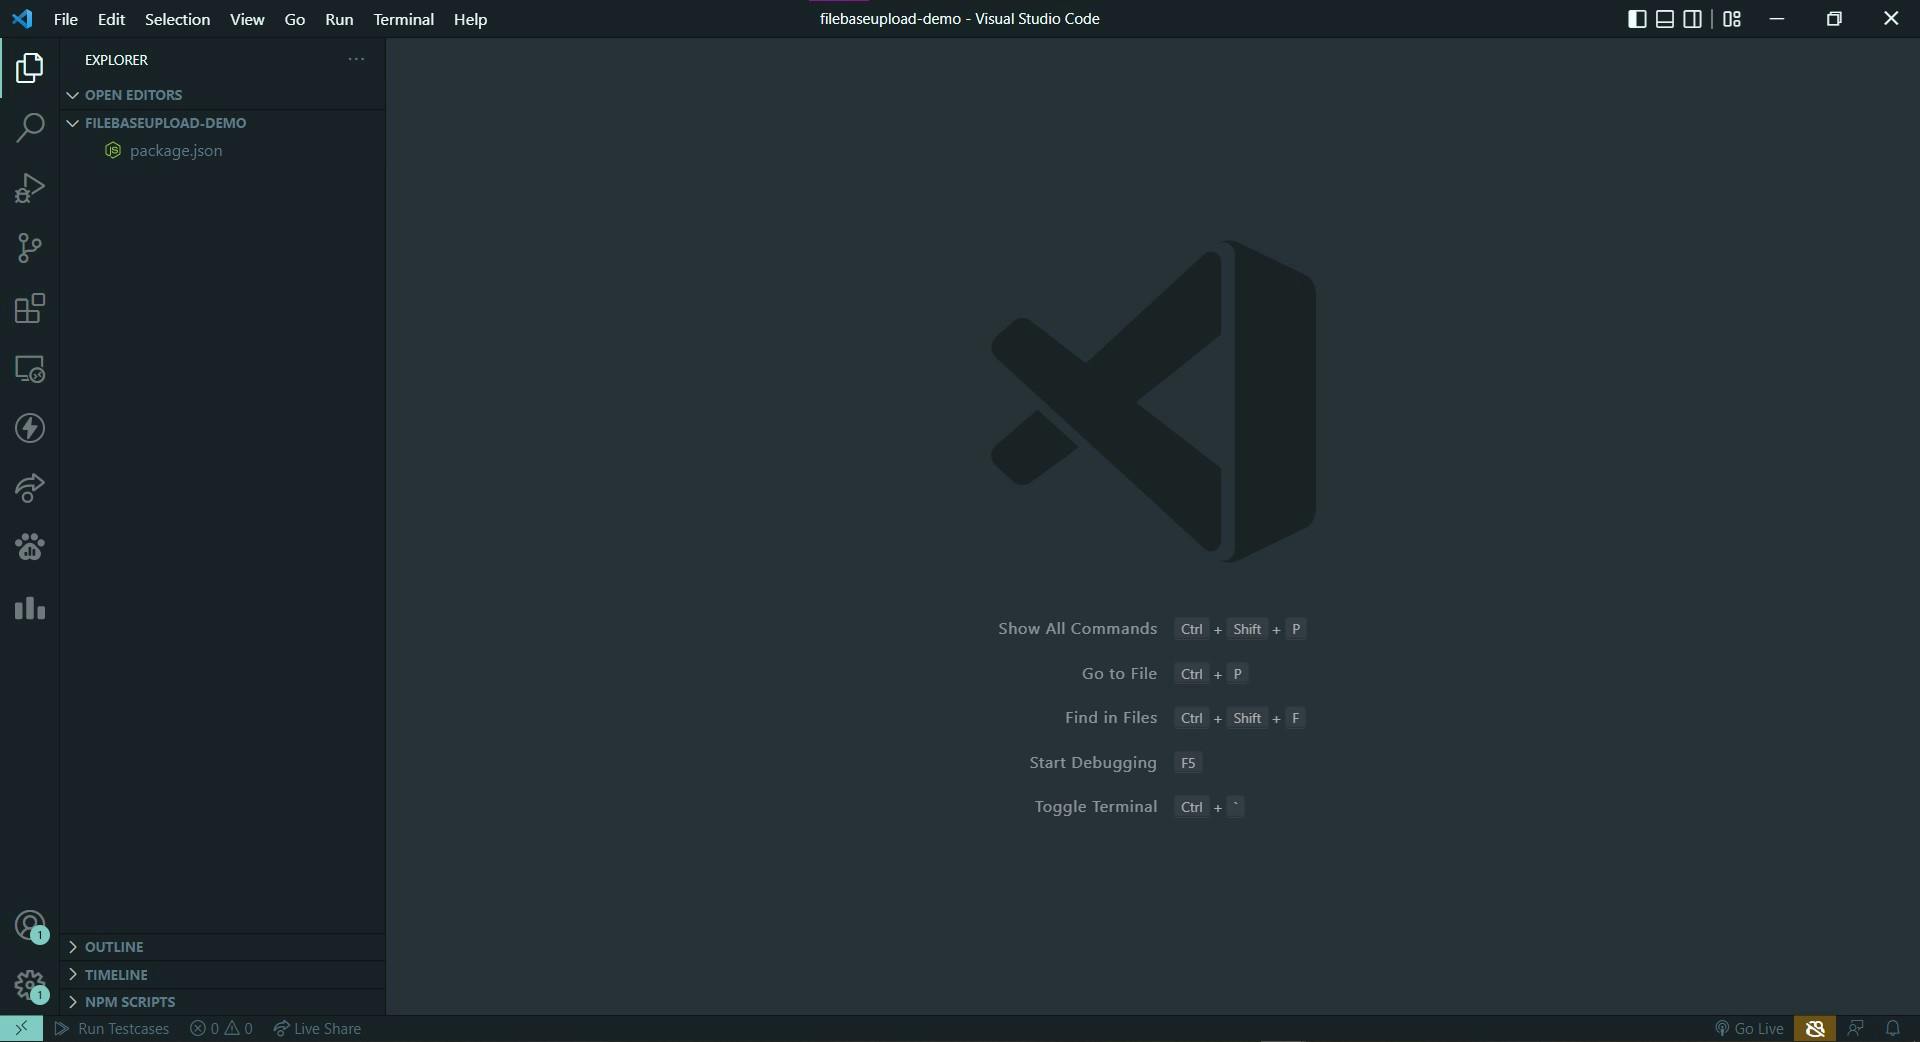
3) Now open our folder filebaseupload-demo with your code editor(VS-Code, Sublime, Atom or Whatever you use)
I prefer to use VS-Code.
At this Point your Folder-structure should look like this.
4)Now create a file named index.js
5)As we are using File-base's S3 compatible API, We need to add some dependencies Now Open Your Terminal in VS Code and run following commands
npm install aws-sdk dotenv fs
This will install
aws-sdk: aws-sdk for interacting with aws-services throught Javascriptdotenv: loads our environment variable from .env toprocess.env.VARIABLE_NAMEfs: packge used to read and write files
6) Now, create a .env file in our root directory
Now in .env file add environment variable that we need
AWS_ACCESS_KEY_ID=YOUR_ACCES_KEY_FROM_FILEBASE
AWS_SECRET_ACCESS_KEY=YOUR_ SECRET_KEY_FROM_FILEBASE
BUCKET_NAME=YOUR_FILEBASE_BUCKET_NAME
Here is a guide you can get your keys:
- Go to Filebase console and sign-in
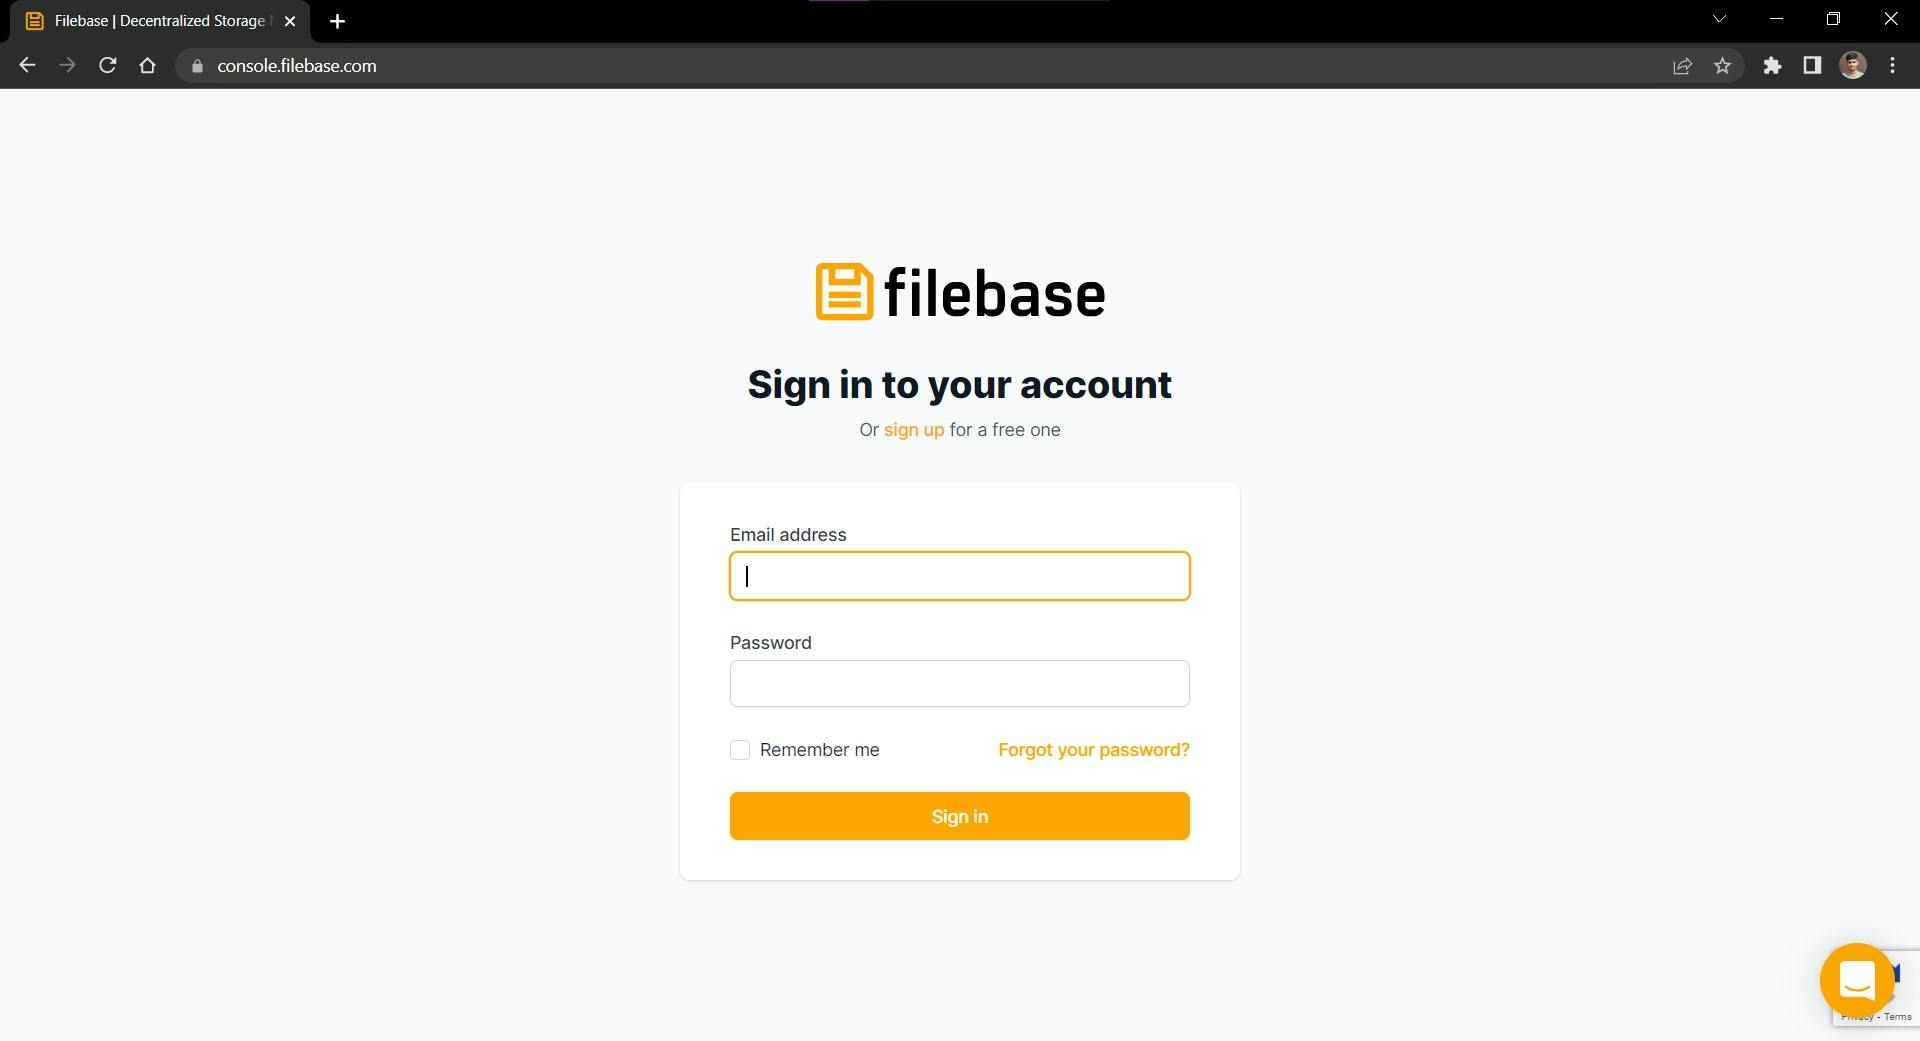
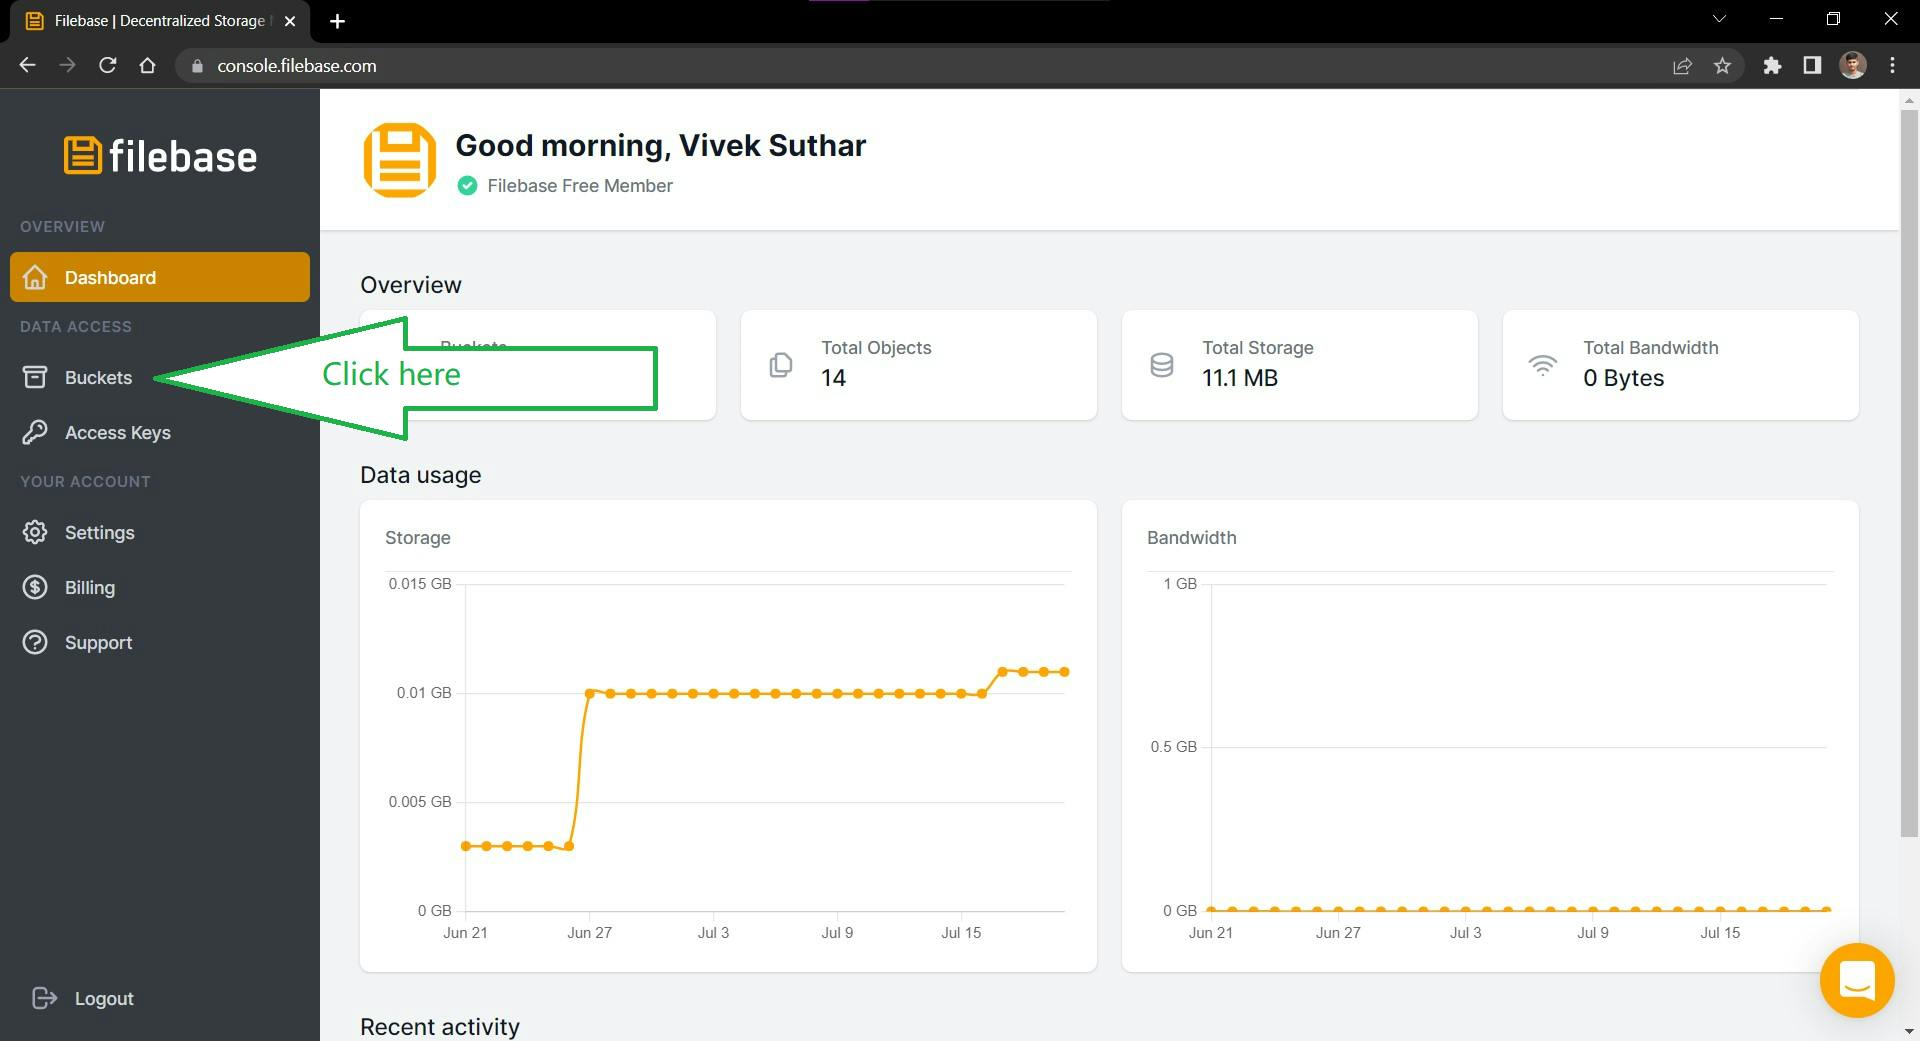
Now log-in with your account On successful login you should see screen like this
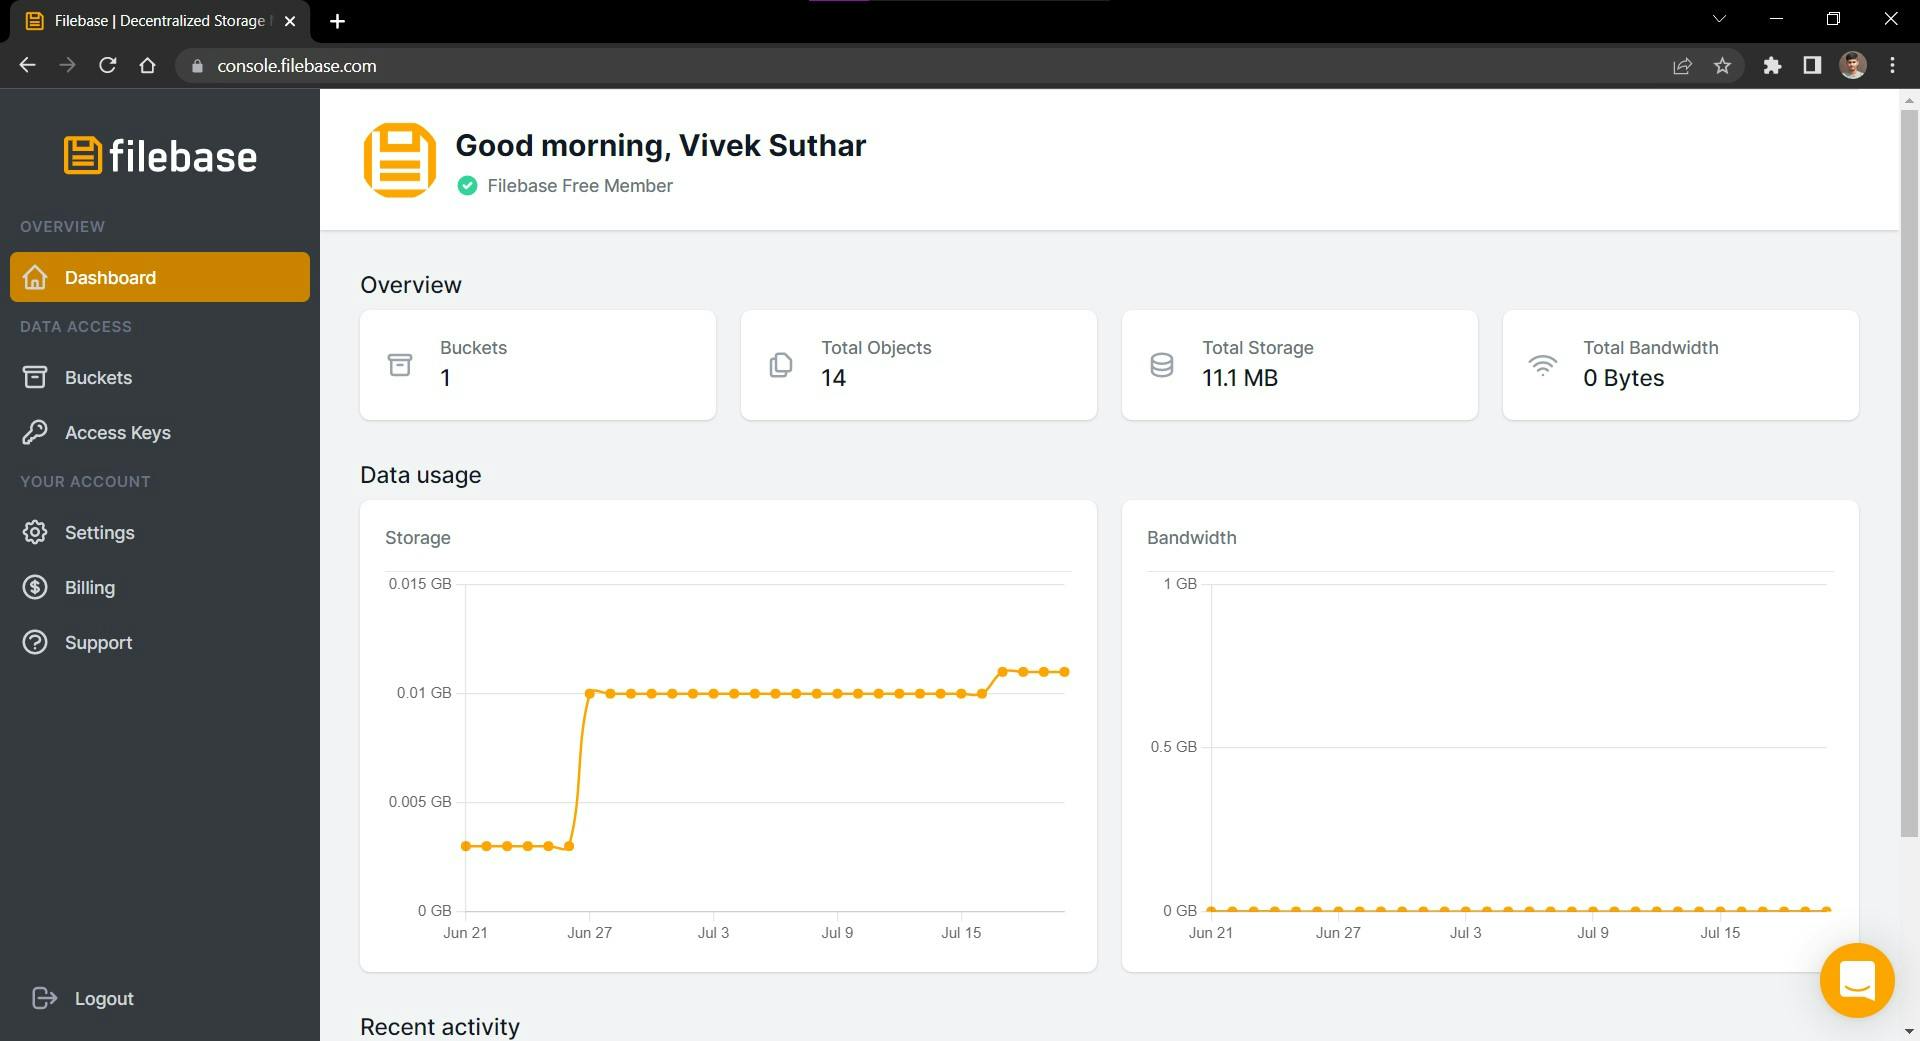
Now Click on Buckets in left-sidebar.
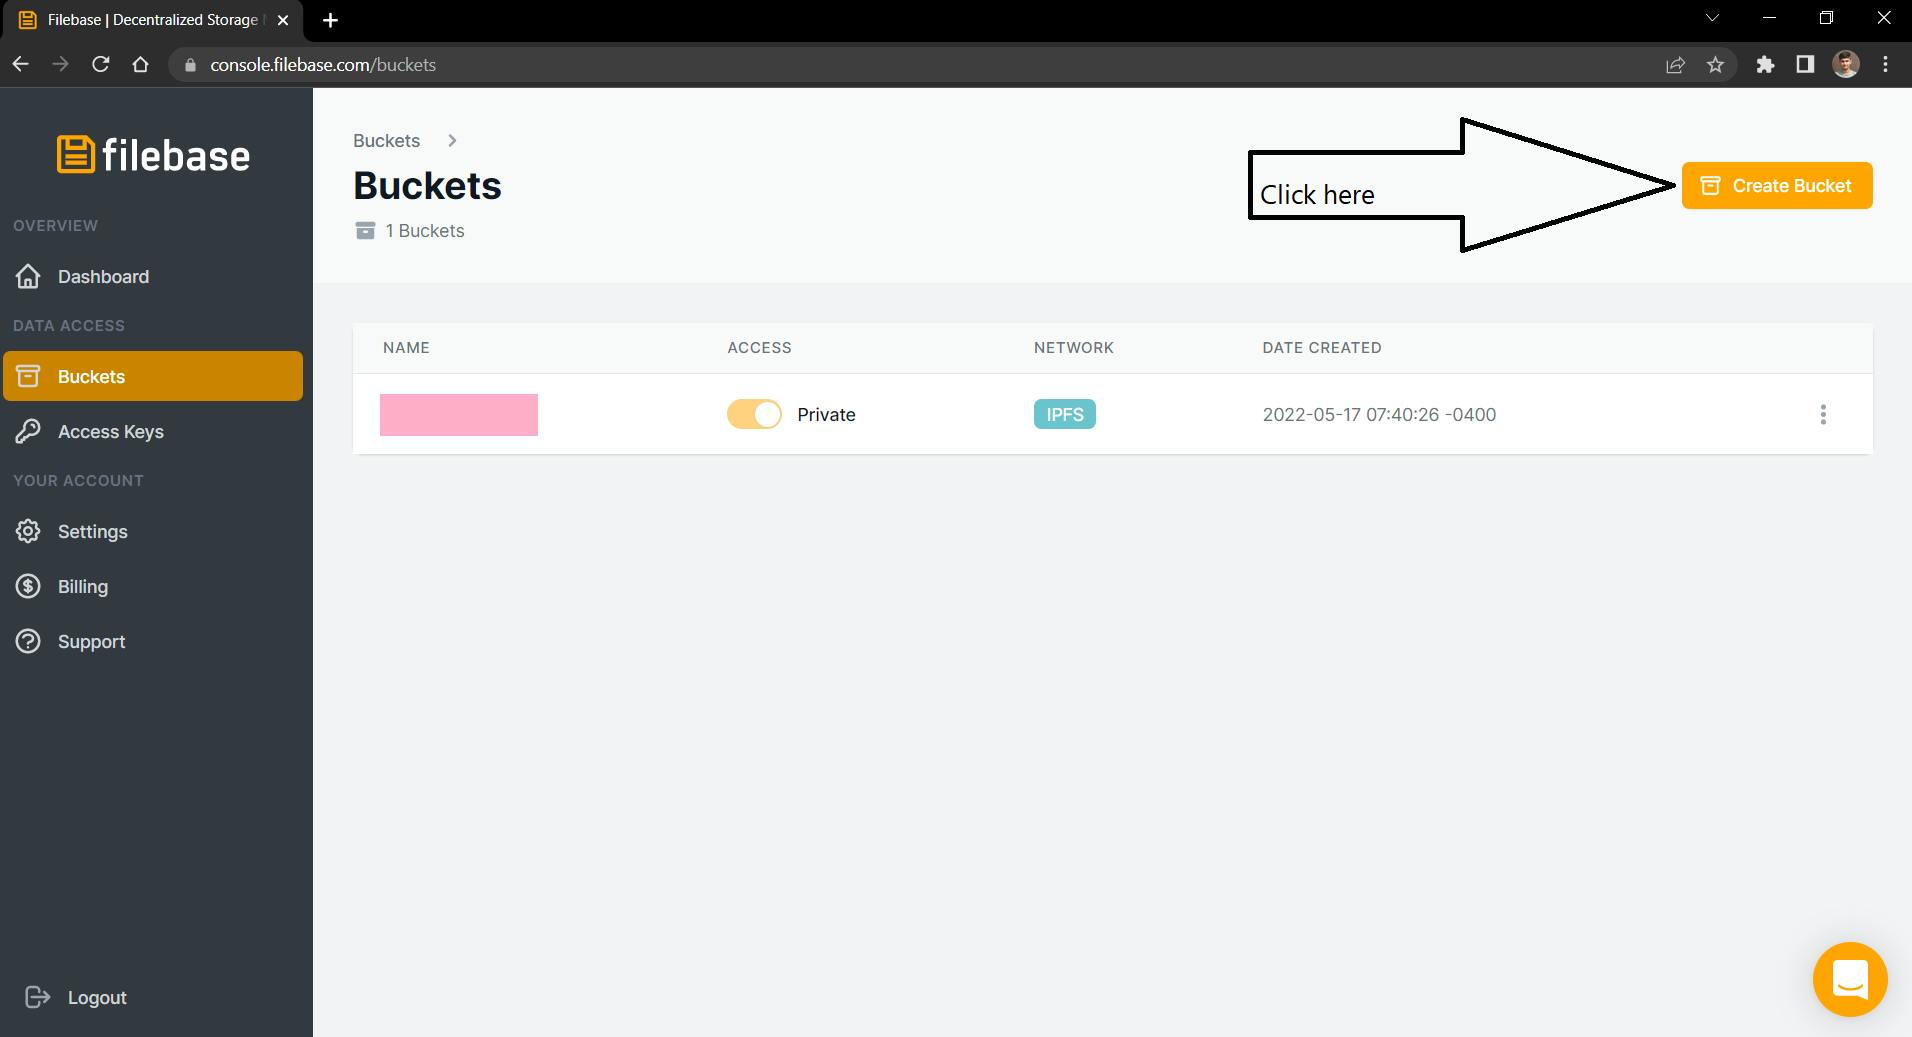
Now click on create bucket
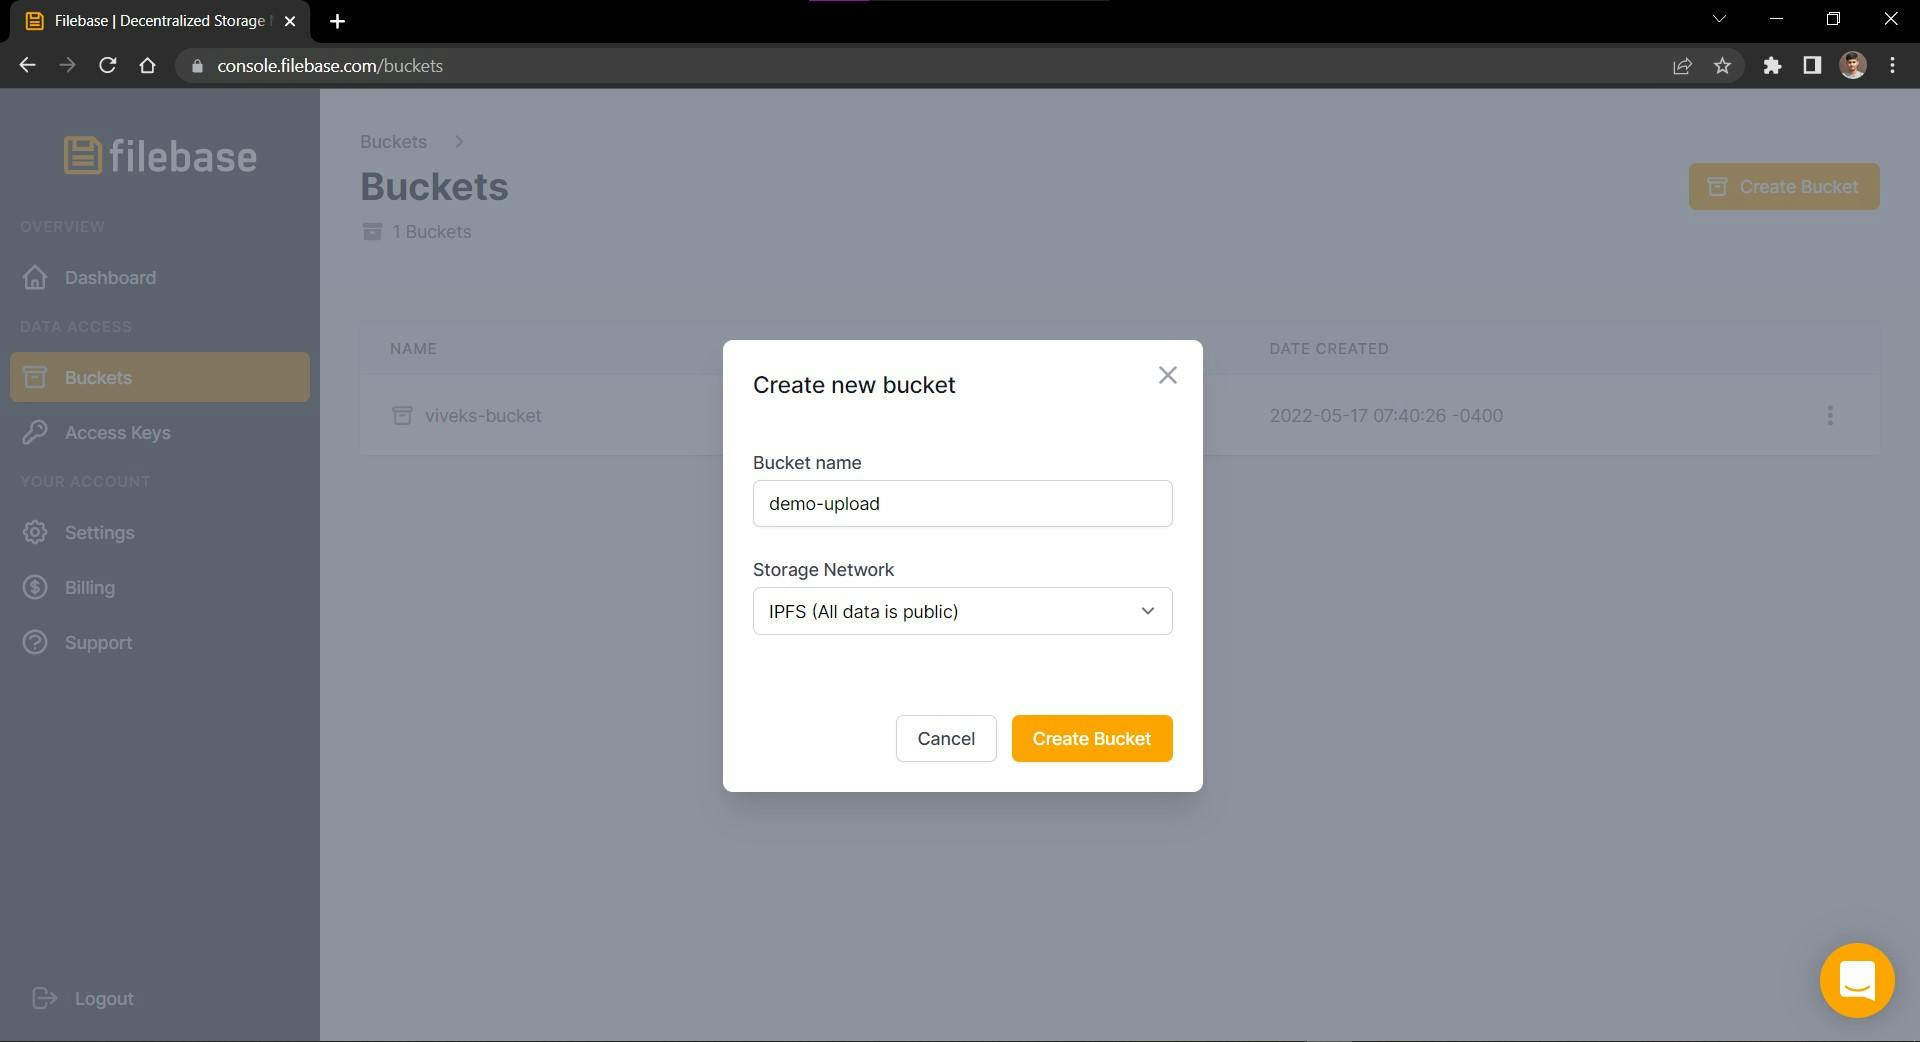
Now Enter bucket name demo-upload and click on create-bucket button
Now click on bucket name
Now click on Access Keys in Sidebar and you should see your keys
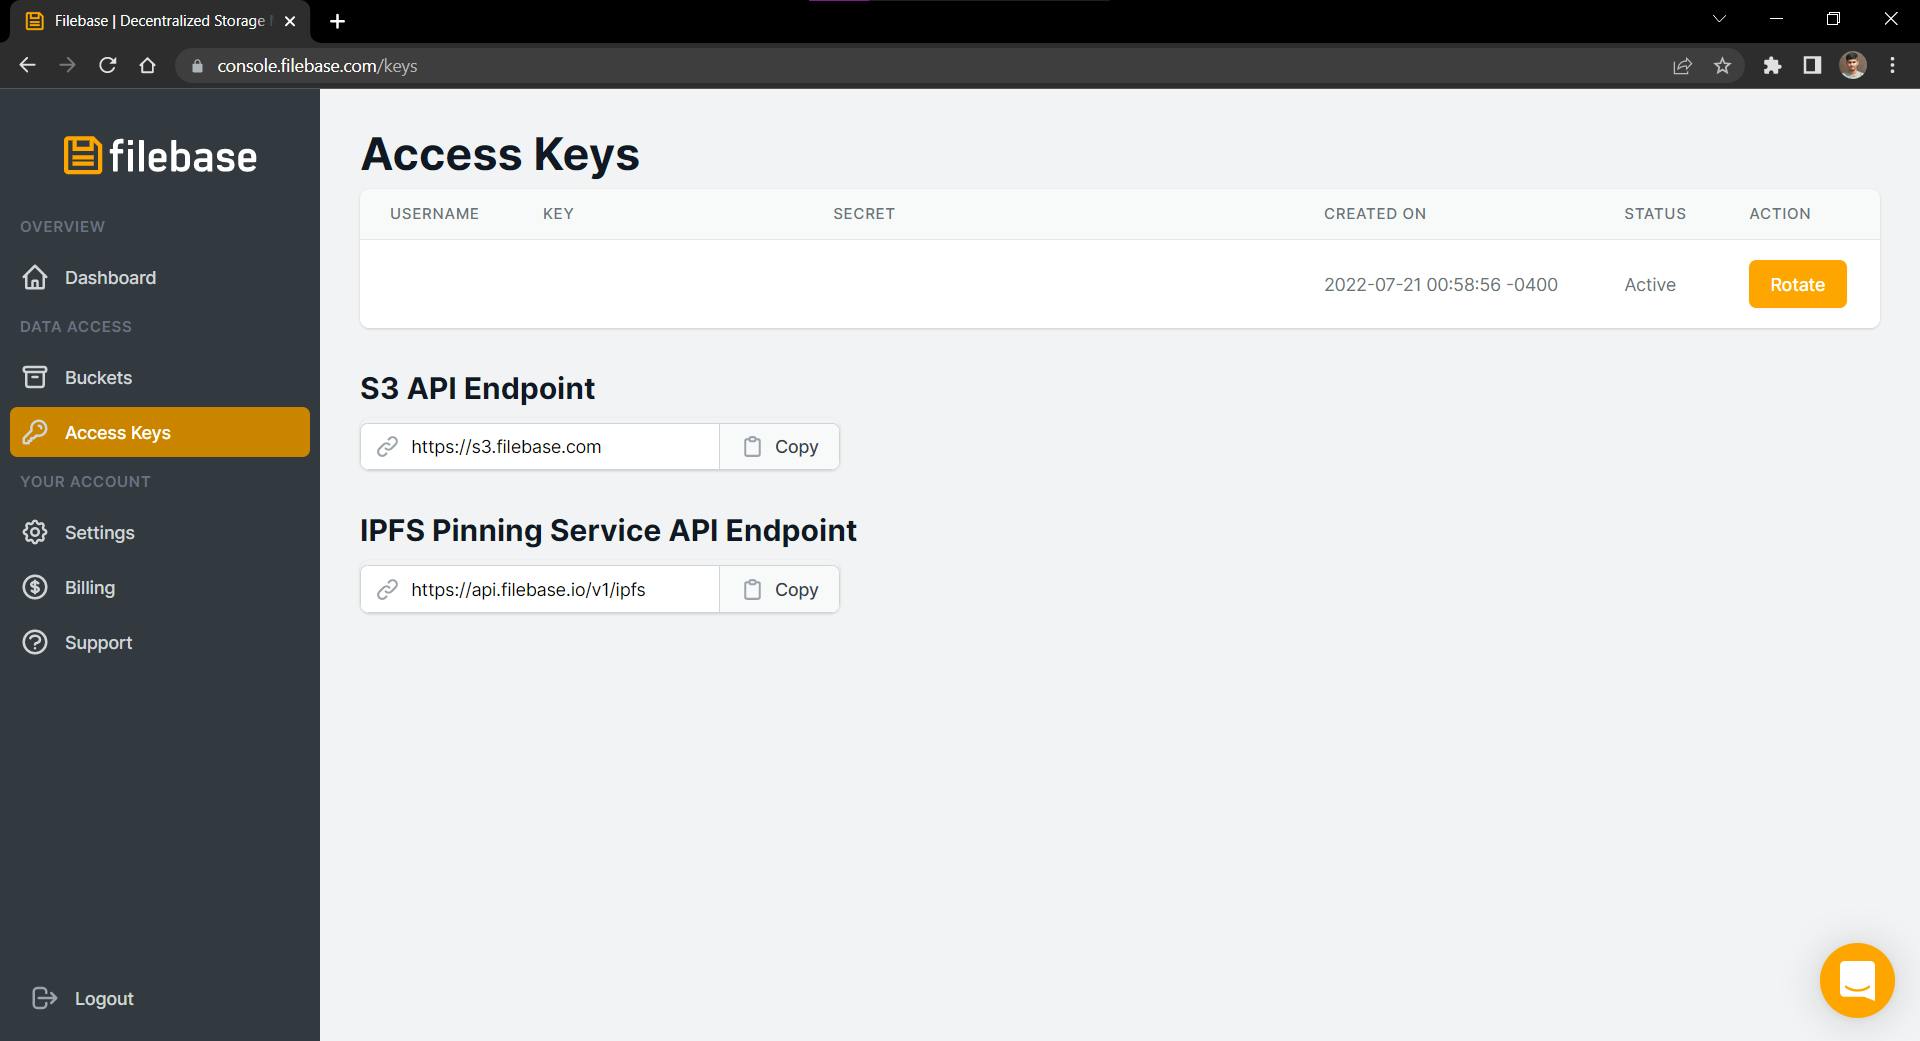
Now,
copy KEY and paste at YOUR_ACCES_KEY_FROM_FILEBASE in .env
copy SECRET and paste at YOUR_ SECRET_KEY_FROM_FILEBASE in .env
in BUCKET_NAME write our bucket name in our case it is
demo-upload
7) Now Open your index.js and paste this code
require('dotenv').config();
const AWS = require("aws-sdk");
const fs = require("fs");
const s3 = new AWS.S3({
    endpoint: 'https://s3.filebase.com',
    region: 'us-east-1',
    signatureVersion: 'v4'
});
fs.readFile('BAYC.png', (err, data) => {
    if (err) {
        console.log(err);
        return;
    }
    const params = {
        Bucket: process.env.BUCKET_NAME,
        Key: 'test/BAYC.png',
        ContentType: 'image/png',
        Body: data,
    }
    const request = s3.putObject(params);
    request.on('httpHeaders', (statusCode, headers) => {
        console.log(`CID:${headers['x-amz-meta-cid']}`);
        console.log(`Go to https://ipfs.filebase.io/ipfs/${headers['x-amz-meta-cid']}`);
    });
    request.send();
})
Now Lets under-stand our code:
require('dotenv').config();
const AWS = require("aws-sdk");
const fs = require("fs");
Here, We are importing our aws-sdk and fs module.
const s3 = new AWS.S3({
    endpoint: 'https://s3.filebase.com',
    region: 'us-east-1',
    signatureVersion: 'v4'
});
This will create a new instance of aws's S3-storage service with given configuration endpoint.
fs.readFile('BAYC.png', (err, data) => {
    if (err) {
        console.log(err);
        return;
    }
Here we are reading our file in our directory which is BAYC Image to upload on File-base. We are using fs modules's readfile method to read the file
 const params = {
        Bucket: process.env.BUCKET_NAME,
        Key: 'test/BAYC.png',
        ContentType: 'image/png',
        Body: data,
    }
    const request = s3.putObject(params);
Now we have read the file.
We are declaring our parameters of object with Bucket-name, Key[Where to store file in bucket],Content type of image, and Body.
After that we are calling s3's pubObject method with our parameters
 request.on('httpHeaders', (statusCode, headers) => {
        console.log(`CID:${headers['x-amz-meta-cid']}`);
        console.log(`Go to https://ipfs.filebase.io/ipfs/${headers['x-amz-meta-cid']}`);
    });
request.send();
request.on() is function that listens to events emitted by remote server.
When our remote server sends the httpHeaders, the listener function is called
and inside that we are logging our CID by using headers['x-amz-meta-cid]
and we are generating link for our file by
https://ipfs.filebase.io/ipfs/${headers['x-amz-meta-cid']}
Note that In console.log we are using `` Backticks (template literals ) and not regular
"" double quotes.
Now lets run our file
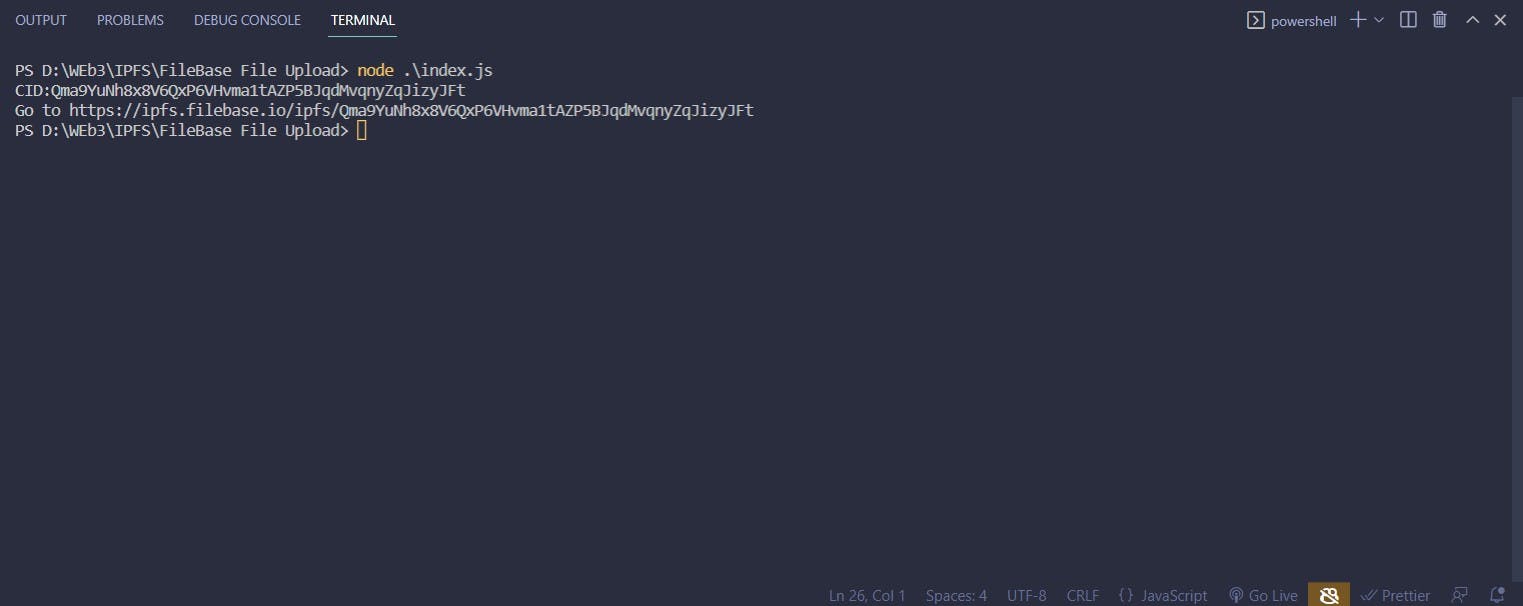
go to terminal and run node index.js
If everything goes ok, you should see output like this
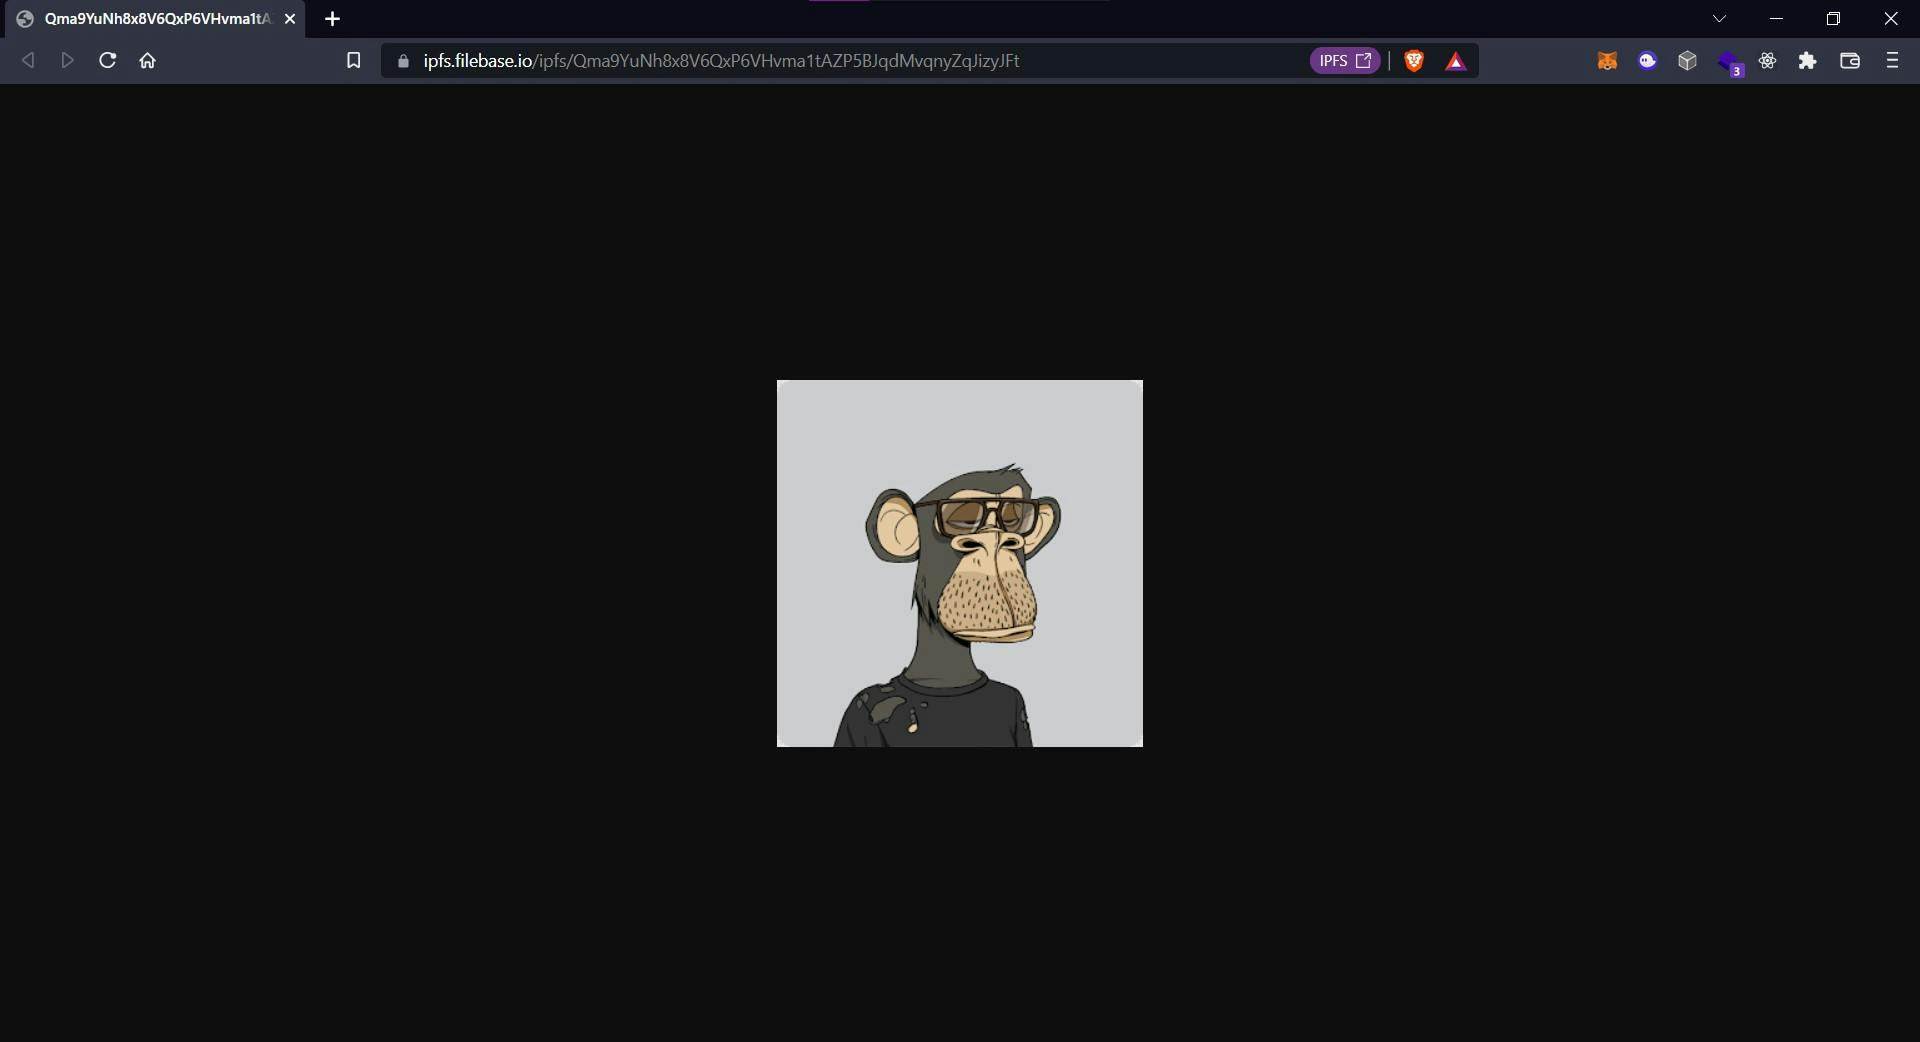
If you copy the link and paste it in browser you should see the image.
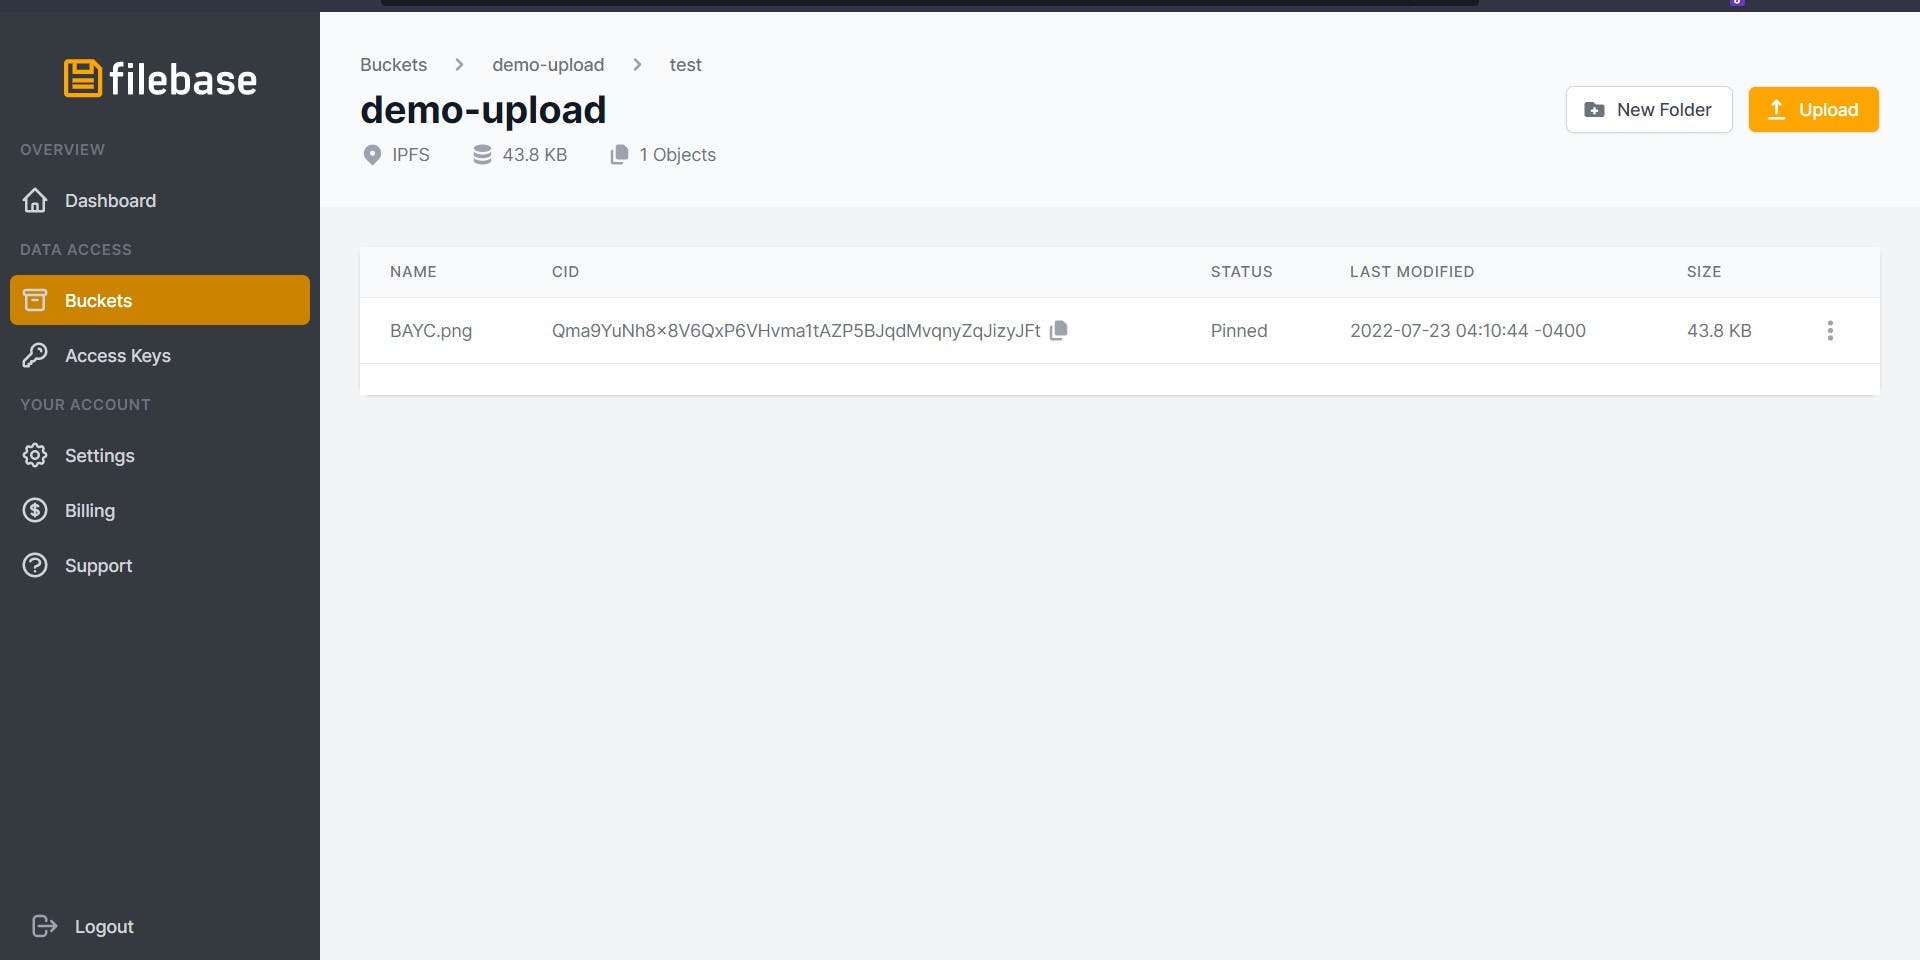
Now if you go to your file-base and navigate to your bucket you should see the image is uploaded there
If you see ,take a minute and reward you-self that you followed the entire blog
Until next Keep coding , Keep debugging
Feel free to contact me
![]()
![]()
![]()