Gasless Transactions Made Easy with Biconomy
Implement gas-less transactions in your next DApp with the help of Biconomy


One of the biggest challenges that Web 3.0 is currently facing is poor user experience. The process of making transactions on dApp requires users to pay gas fees and sign messages for each and every transaction. This can be quite frustrating for new users who are not familiar with the system. For instance, if a user wants to send an Ethereum transaction or mint an NFT on the chain, they must first acquire Ether to pay for the gas fees. This can be a major obstacle for user onboarding.
However, there is a solution to this issue. DApp developers can mitigate this hurdle by implementing gas sponsorship within their platform. This would enable users to carry out transactions without the need for them to purchase crypto tokens first. This would not only simplify the process for new users but also make the platform more accessible to a wider range of individuals who may not have the resources to purchase crypto tokens. With gas sponsorship, more people would be able to join and use Web 3.0 without having to worry about the complexities of acquiring crypto tokens.
So, before starting to code, let's understand how Gasless actually works.
With meta-transactions, a third party (called a relayer) can send another user’s transaction and pay for the gas cost. Users sign messages (not transactions) containing information about a transaction they would like to execute, and relayers sign valid Ethereum transactions with this information and send them to the network, paying for the gas cost. A base contract preserves the identity of the user that originally requested the transaction, allowing users to interact with smart contracts without the need to have Ether or native tokens for gas.
Now that you have a clear understanding of what meta-transactions are, let's explore what Biconomy is. Biconomy offers a plug-and-play API that enables smart-contract wallets and gasless transactions.
Using the Biconomy SDK, you can enable gasless transactions and sponsor gas for your end-users. There are two ways to enable meta-transactions with Biconomy:
With a Trusted Forwarder.
With Custom Smart Contract Implementation.
In this part, we will discuss how to integrate meta-transactions into your app using a trusted forwarder.
By using a trusted forwarder from Biconomy, we can implement gasless transactions. Biconomy handles everything from signing the typed data to sending the transactions on our behalf. All we need to do is register our DApp on Biconomy's dashboard. We need to provide our contract's address, name, and ABI, and specify which methods we want to be gasless. Once that's done, we're all set.
Prerequisite
Before jumping to code make sure you have installed it.
-NodeJS
-A Basic knowledge of front-end
You can download NodeJS from here.
Writing Smart-Contract
In this tutorial, we will be writing a basic smart contract called SignBook that allows users to sign a message on the blockchain. This contract aims to create a simple proof-of-visit system that can be used on any website.
To write and test our smart contract, we will be using Remix, a web-based Ethereum IDE. Remix provides a user-friendly interface for writing, compiling, testing, and deploying smart contracts. It also includes a built-in Solidity compiler and various tools for debugging and testing.
Now, let's get started with writing our SignBook smart contract in Remix.
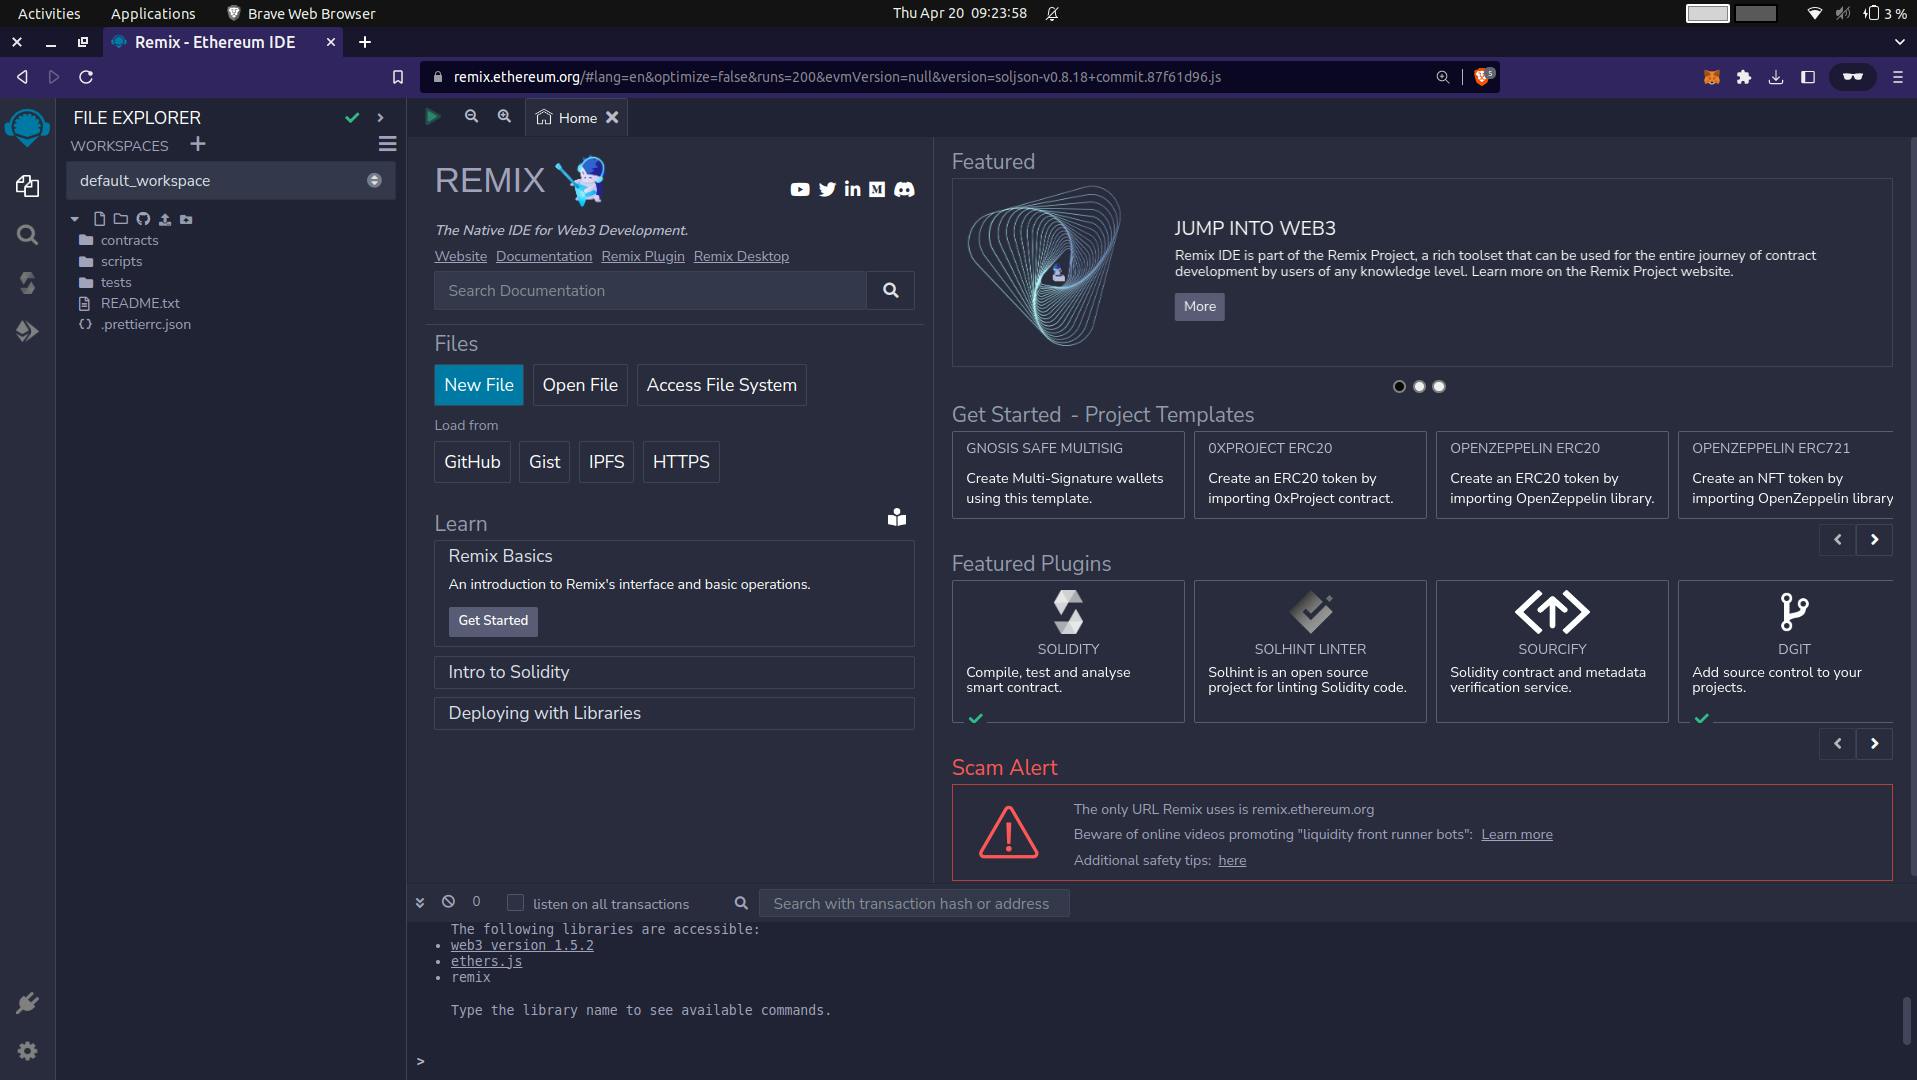
Visit Remix
You will see the screen like this.
Now, In File Explorer, Go To contracts->1_Storage.sol and delete all code and rename the file to SignBook.sol
Now In the SignBook.sol, Paste the below code.
//SPDX-License-Identifier: MIT
pragma solidity ^0.8.9;

import "@openzeppelin/contracts/metatx/ERC2771Context.sol";

contract SignBook is ERC2771Context {

    struct Visitor {
        address from;
        string message;
        uint256 timestamp;
    }

    Visitor[] visitors;

    constructor(address trustedForwarder)
        ERC2771Context(address(trustedForwarder))
    {}

    function getVisitors() public view returns (Visitor[] memory) {
        return visitors;
    }

    function addVisitor(string calldata message_, address from) public {
        visitors.push(Visitor(from, message_, block.timestamp));
    }
}
Now, Let's break down the code line-by-line and understand what this code is doing.
//SPDX-License-Identifier: MIT
pragma solidity ^0.8.9;
In the first line, We are defining The license for our contract.
In the next line, we are declaring the solidity version, in our case it is 0.8.9.
After that, we are importing ERC2771Context, which is the official OpenZeppelin implementation for Meta Transactions.
ERC2771 is a standard that is based on EIP2771. EIP2771 is an Ethereum Improvement Proposal that defines a contract interface for receiving meta transactions through a trusted forwarder.
In simpler terms, ERC2771 is a set of guidelines that allow smart contracts on the Ethereum blockchain to receive and process meta-transactions, which are transactions that are paid for by someone other than the sender. This is done through a trusted forwarder, which acts as an intermediary between the sender and the smart contract. The use of a trusted forwarder helps to reduce gas costs and increase security by preventing the need for the smart contract to directly interact with the blockchain.
contract SignBook is ERC2771Context {}
Here, We are declaring our contract name SignBook and We are inheriting all methods of ERC2771Context, making our contract compatible with ERC2771 Standards.
struct Visitor {
        address from;
        string message;
        uint256 timestamp;
    }

Visitor[] visitors;
Here we are defining a struct called Visitor, which has three properties:
from: which is an address type and represents the eth address of the visitor.message: which is a string type and represents a message left by the visitortimestamp: which is an unsigned integer type with 256 bits and represents the time when the visitor left the message
Then we are creating an array of Visitor structs called visitors. This array can hold multiple instances of the Visitor struct, allowing the contract to store information about multiple visitors.
constructor(address trustedForwarder)
        ERC2771Context(address(trustedForwarder))
    {}
Here, we are declaring our constructor function, A Constructor is a special function that is called when the contract is deployed on the chain.
This constructor takes a single parameter, trustedForwarderwhich will be the address of the trusted forwarder. The parameter is used to initialize the ERC2771Context contract, a base contract that provides a context for executing meta-transactions using the EIP-2771 standard.
The ERC2771Context contract is inherited by the current contract using the is keyword and is passed the trustedForwarder parameter as an argument. This sets the trusted forwarder for the context, which is used to authenticate and validate the meta-transaction requests made to the contract.
function getVisitors() public view returns (Visitor[] memory) {
        return visitors;
}
Here, we are defining a public function called getVisitors(). The function has a view modifier, indicating that it does not modify the contract's state and does not require any gas to execute.
The function returns an array of Visitor structs, which are declared in the contract's state variables as visitors. The memory keyword specifies that the function will return a temporary value that is stored in memory, rather than a value that is stored in storage.
function addVisitor(string calldata message_, address from) public {
        visitors.push(Visitor(from, message_, block.timestamp));
}
This Solidity code defines a public function called, which takes two parameters: message_ and from.
The message_ parameter is a string that represents a message left by a visitor. The from parameter is an Ethereum address that identifies the visitor who left the message.
When this function is called, a new instance of the Visitor struct is created with the given message, address, and the current block timestamp. The new Visitor object is added to the end of an array called visitors, which is stored in the contract's state variables.
Deploying The Contract
Now our contract is ready to deploy.
In Remix, on Left Side, Click on the Solidity Compiler tab and Click Compile SignBook.sol.
You should see the green tick next to the Compiler tab.
Just copy the ABI and save it as we will need it.
Next, Click on the deploy and transaction tab.
Now, in Environment select Injected Provider,
In the deploy section, paste the address 0x69015912AA33720b842dCD6aC059Ed623F28d9f7 in the trusted forwarded field, this will be passed to our constructor.
You can find all trusted forwarded addresses for different chains here.
Then Click on transact, confirm in your wallet, and wait for the contract to be created.
Once the transaction is confirmed and mined successfully, you will see the contract address in remix under the Deployed Contracts section, save this address as we need it while integrating with the front-end.
Register your app on Biconomy
Our Contract is now deployed and now we can register it for sponsoring gas for our users.
Login to your account if you have one or sign up.
Register your DApp, and make sure you select Polygon Testnet as the network
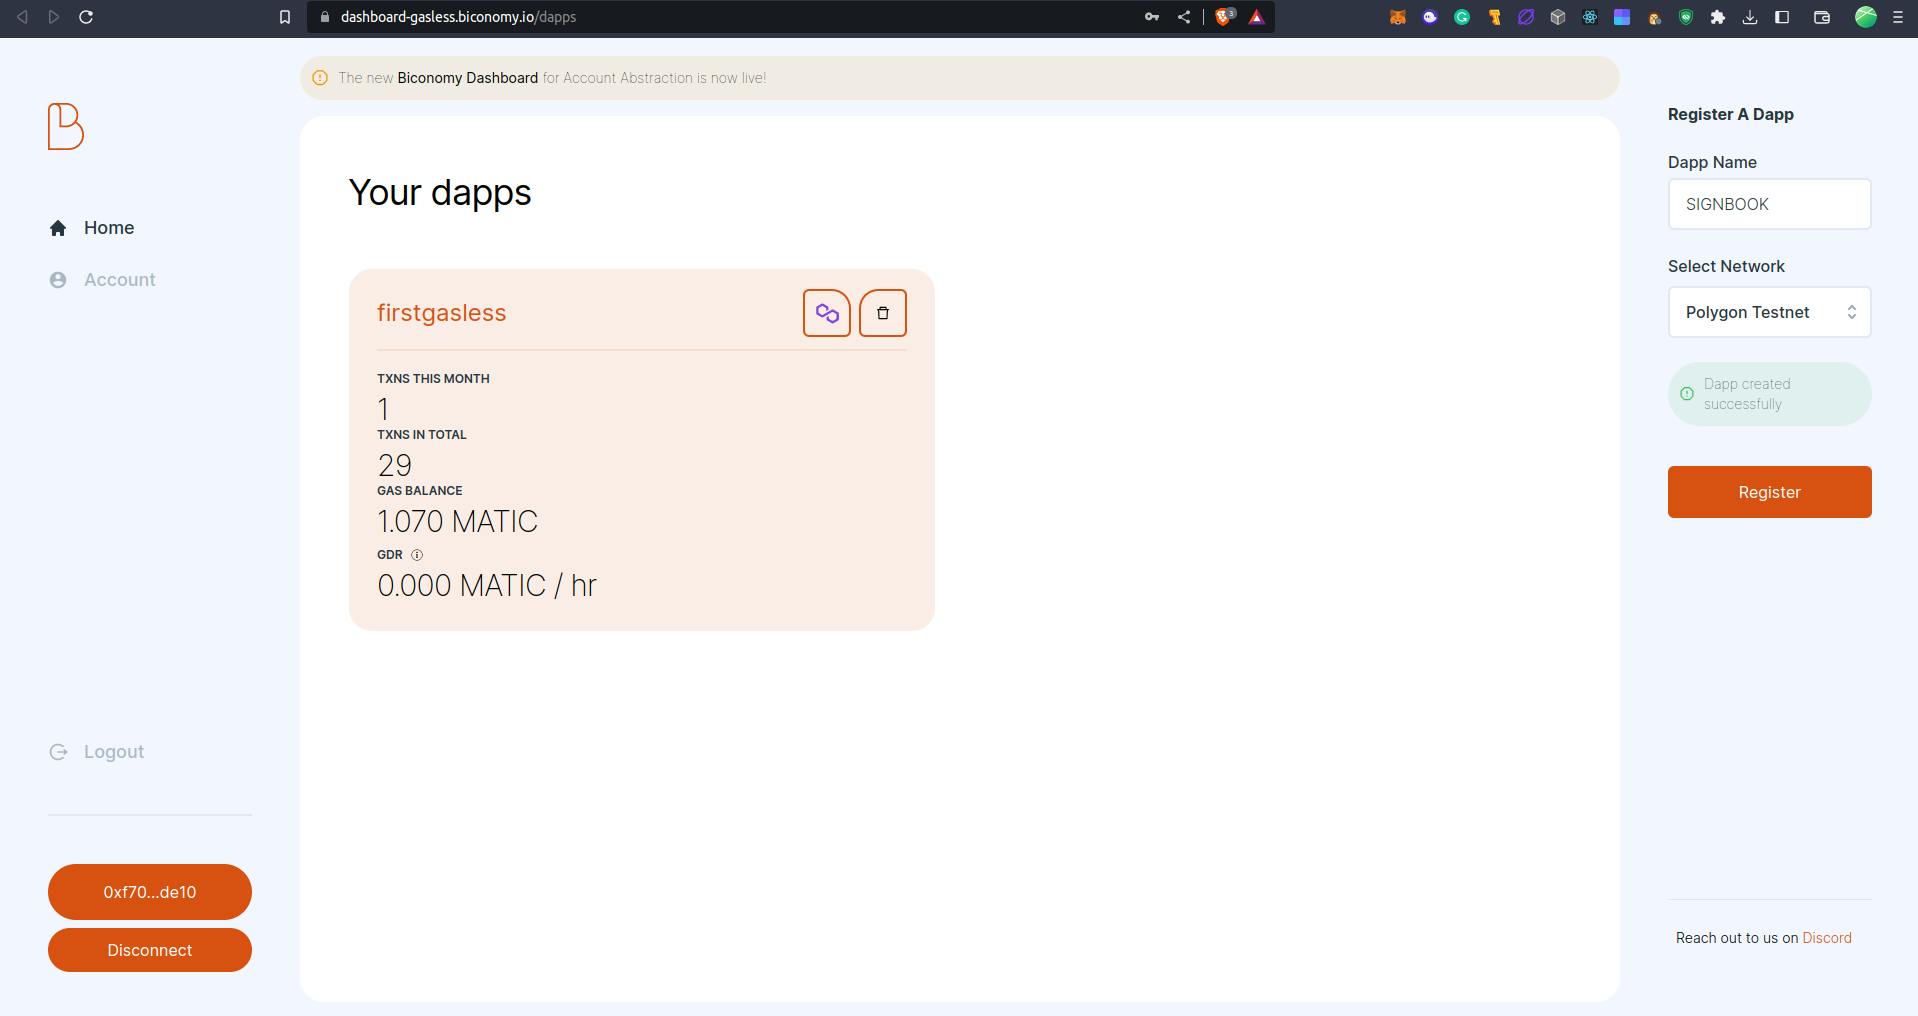
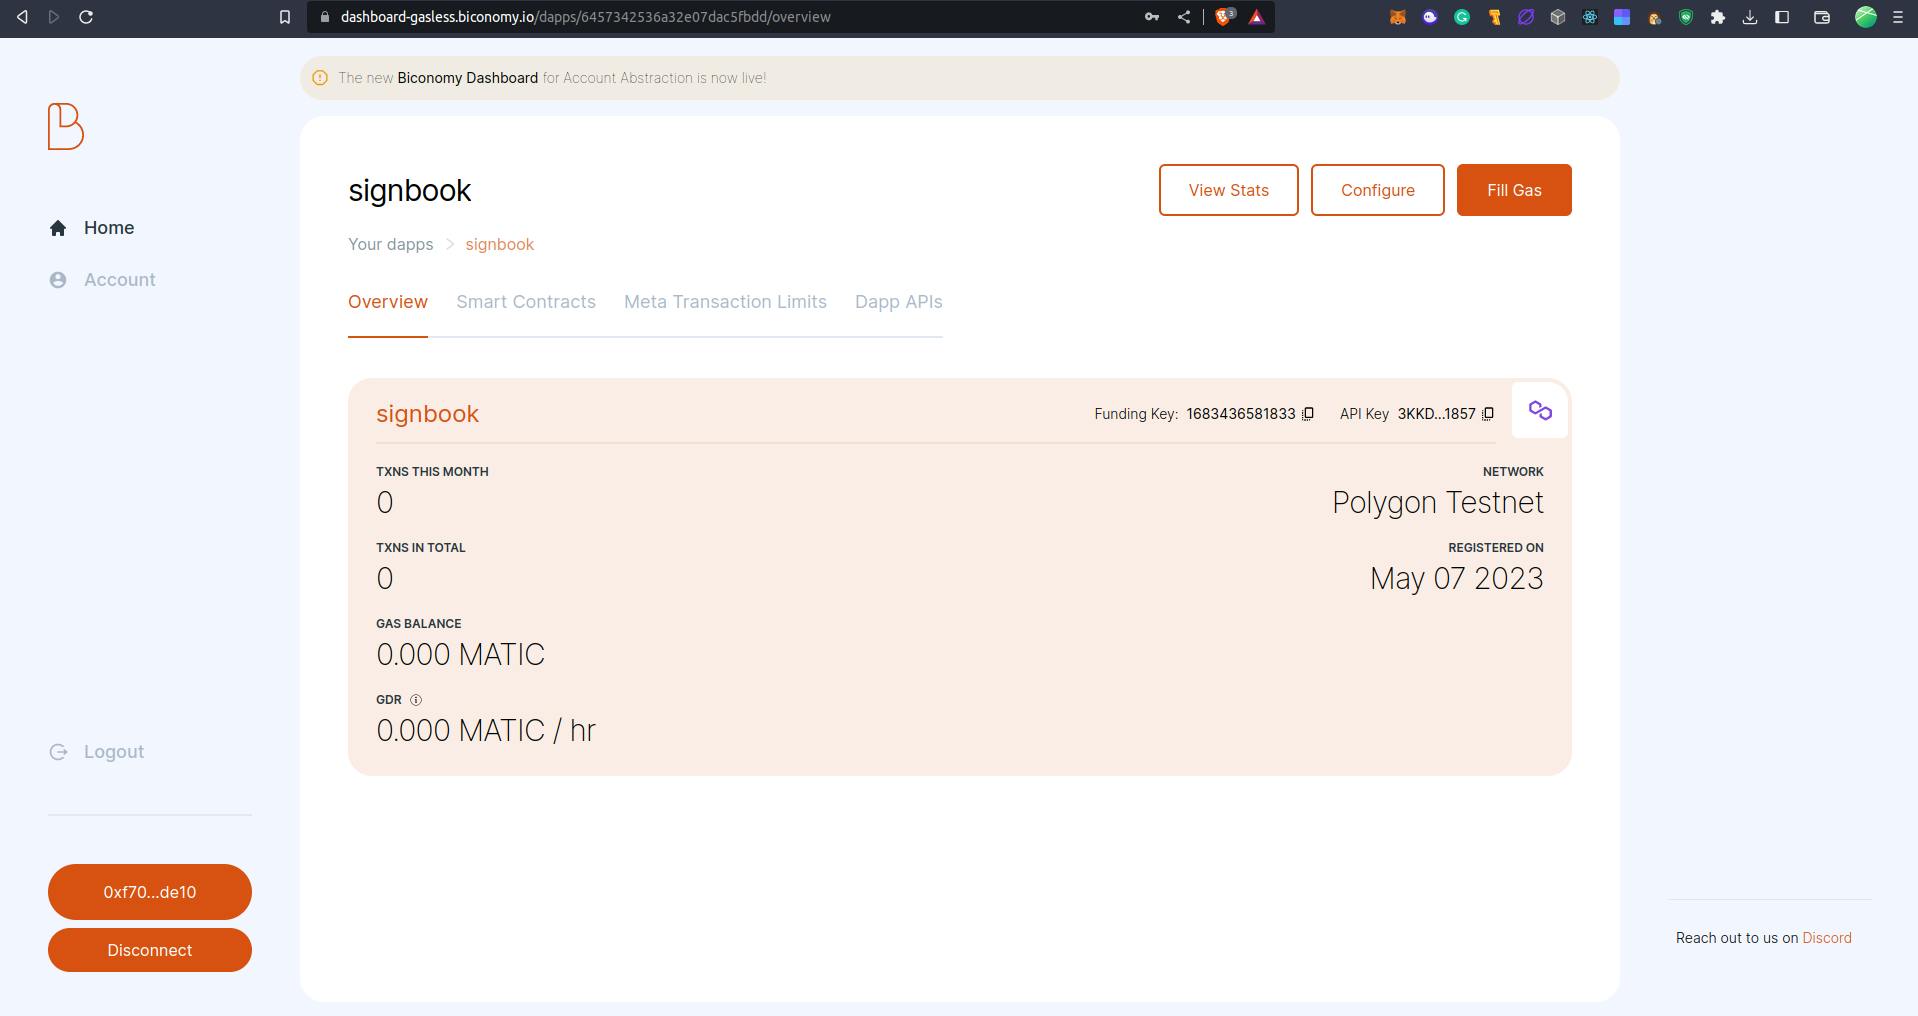
Once your app is created, you will see something like this
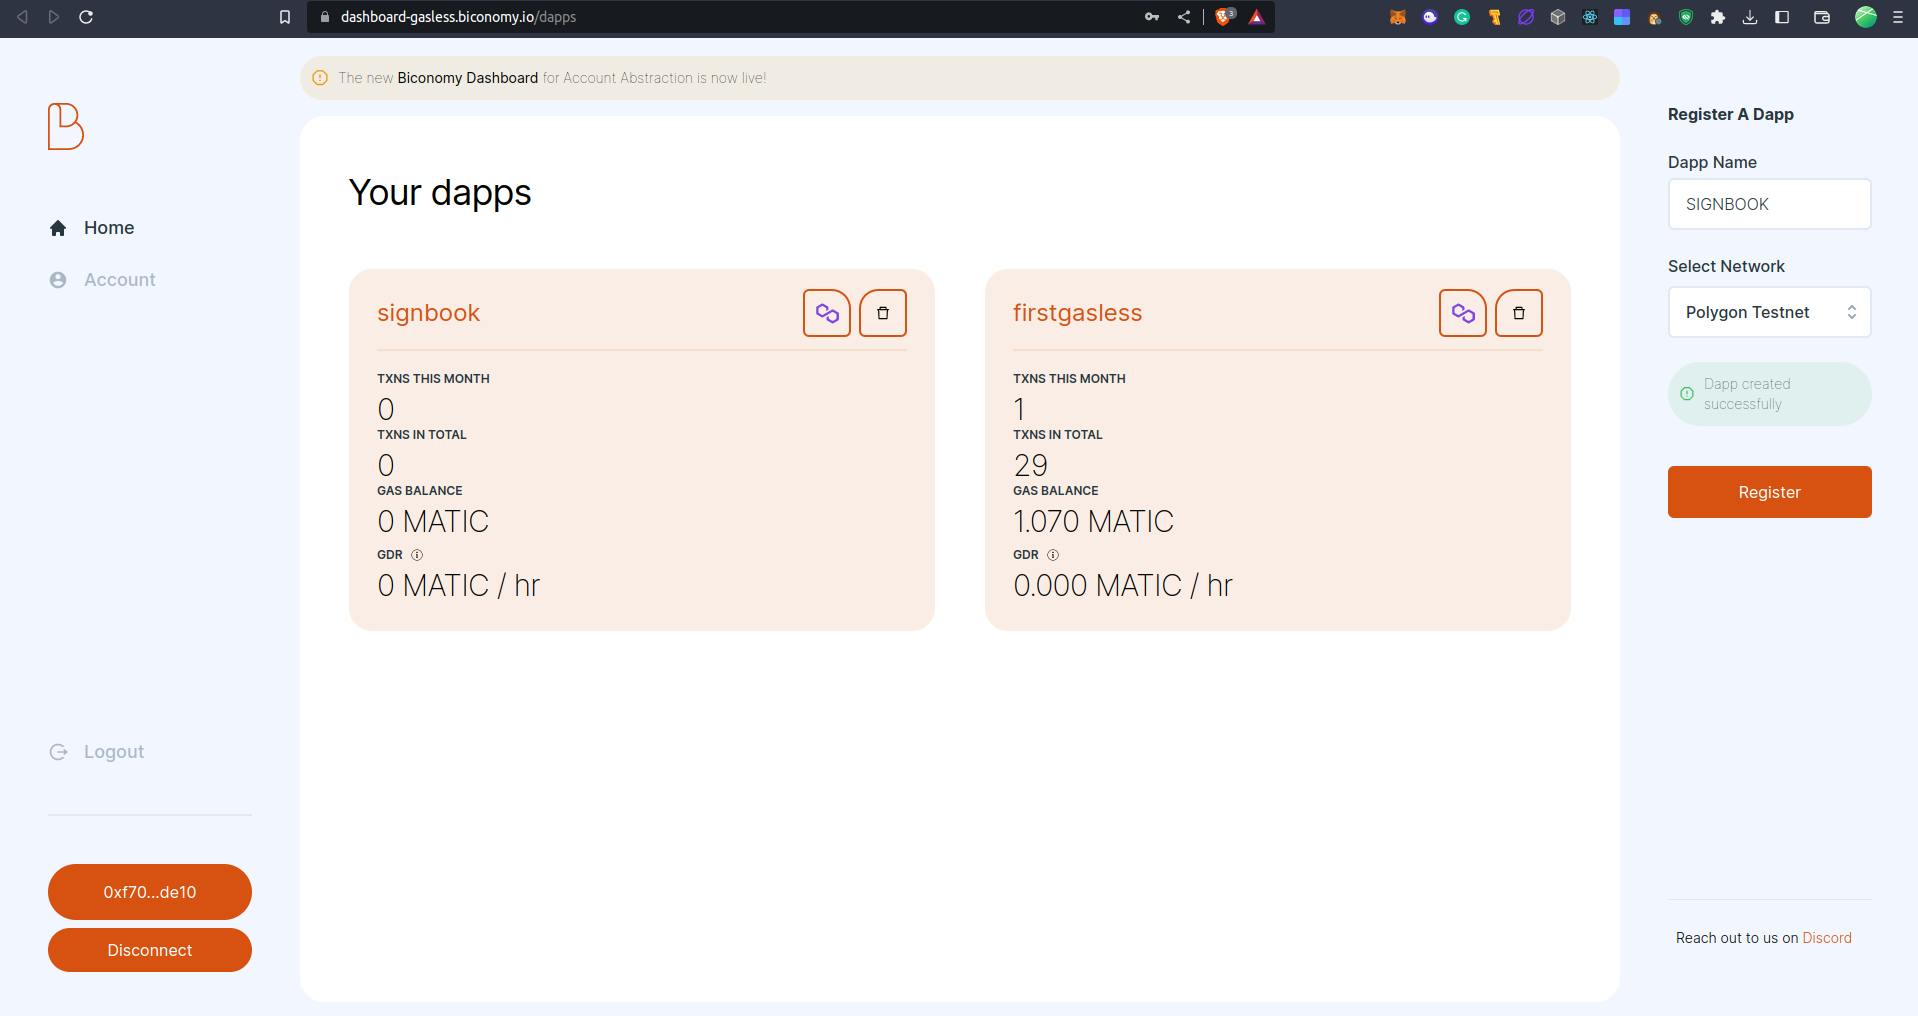
Now, Click on the newly created app,
Navigate to
Smart Contractstab, Add our Contract name, paste the contract address,abi, and select meta transaction type asTrusted ForwarderClick on Add.
Now Fill Some Gas to sponsor gas for your users.
For Filling gas, click on Fill Gas and add some matic in the gas tank.
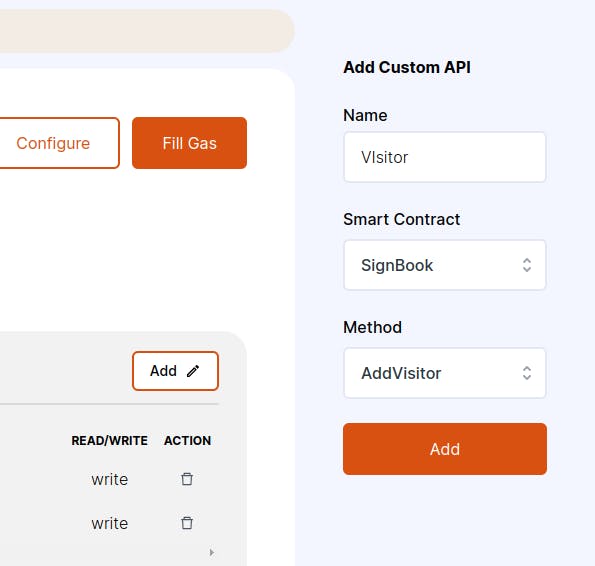
Go to the Dapp API tab and add the methods, which you want to be gas-less.
Add the API Name, Select Your Smart Contract, and Select the method, then click on Add
Now, Copy your API Key from the Overview tab., it will be used in the front-end for sending gasless transactions.
Integrating with Front-end
It's time to send GasLess transactions from the front end.
Open your terminal and run the below commands.
git clone https://github.com/VIVEK-SUTHAR/gasless-demo
cd gasless-demo
npm install
#or
yarn
Now Open this folder in VS Code or the editor you use.
Navigate to src->constants->index.ts and paste your contract address in CONTRACT_ADDRESS field and abi in CONTRACT_ABI field.
Now create one .env file in the root of your project, and paste the below, Replace YOUR_BICONOMY_KEY_HERE with the API key, that you copied from the earlier step.
NEXT_PUBLIC_BICONOMY_KEY=YOUR_BICONOMY_KEY_HERE
Before running the local server, navigate to src/pages/index.tsx and see the sendGasLess function, Let's understand what the function is doing.
This function uses the Biconomy SDK to send a transaction to a smart contract on the chain without requiring the user to pay gas fees.
The function creates a new instance of the Biconomy SDK using the user's Ethereum wallet provider and an API key provided in a .env file.
Then, It initializes the Biconomy SDK and retrieves the provider from it.
Now, we are creating a new instance of our Ethereum contract that we want to interact with, passing in the contract's address, ABI, and the Biconomy provider.
It populates the transaction with data to call the
addVisitorthe function of the contract instance, passing in two parameters:userMessageandcurrentAccount.It creates an object with the necessary transaction parameters, including the data, from address, to address, signature type, and gas limit.
Finally, It sends the transaction using the Biconomy provider's
sendmethod, passing in theeth_sendTransactionmethod and the transaction parameters.In last, We are listening for the events emitted by the Biconomy SDK, including
transactionHash,txHashGenerated, andtxMined, which logs information about the transaction and fetches all messages once the transaction has been mined, so our UI is instantly updated.
Now, run yarn dev or npm run dev in your terminal, go to localhost
You should see the screen like this,
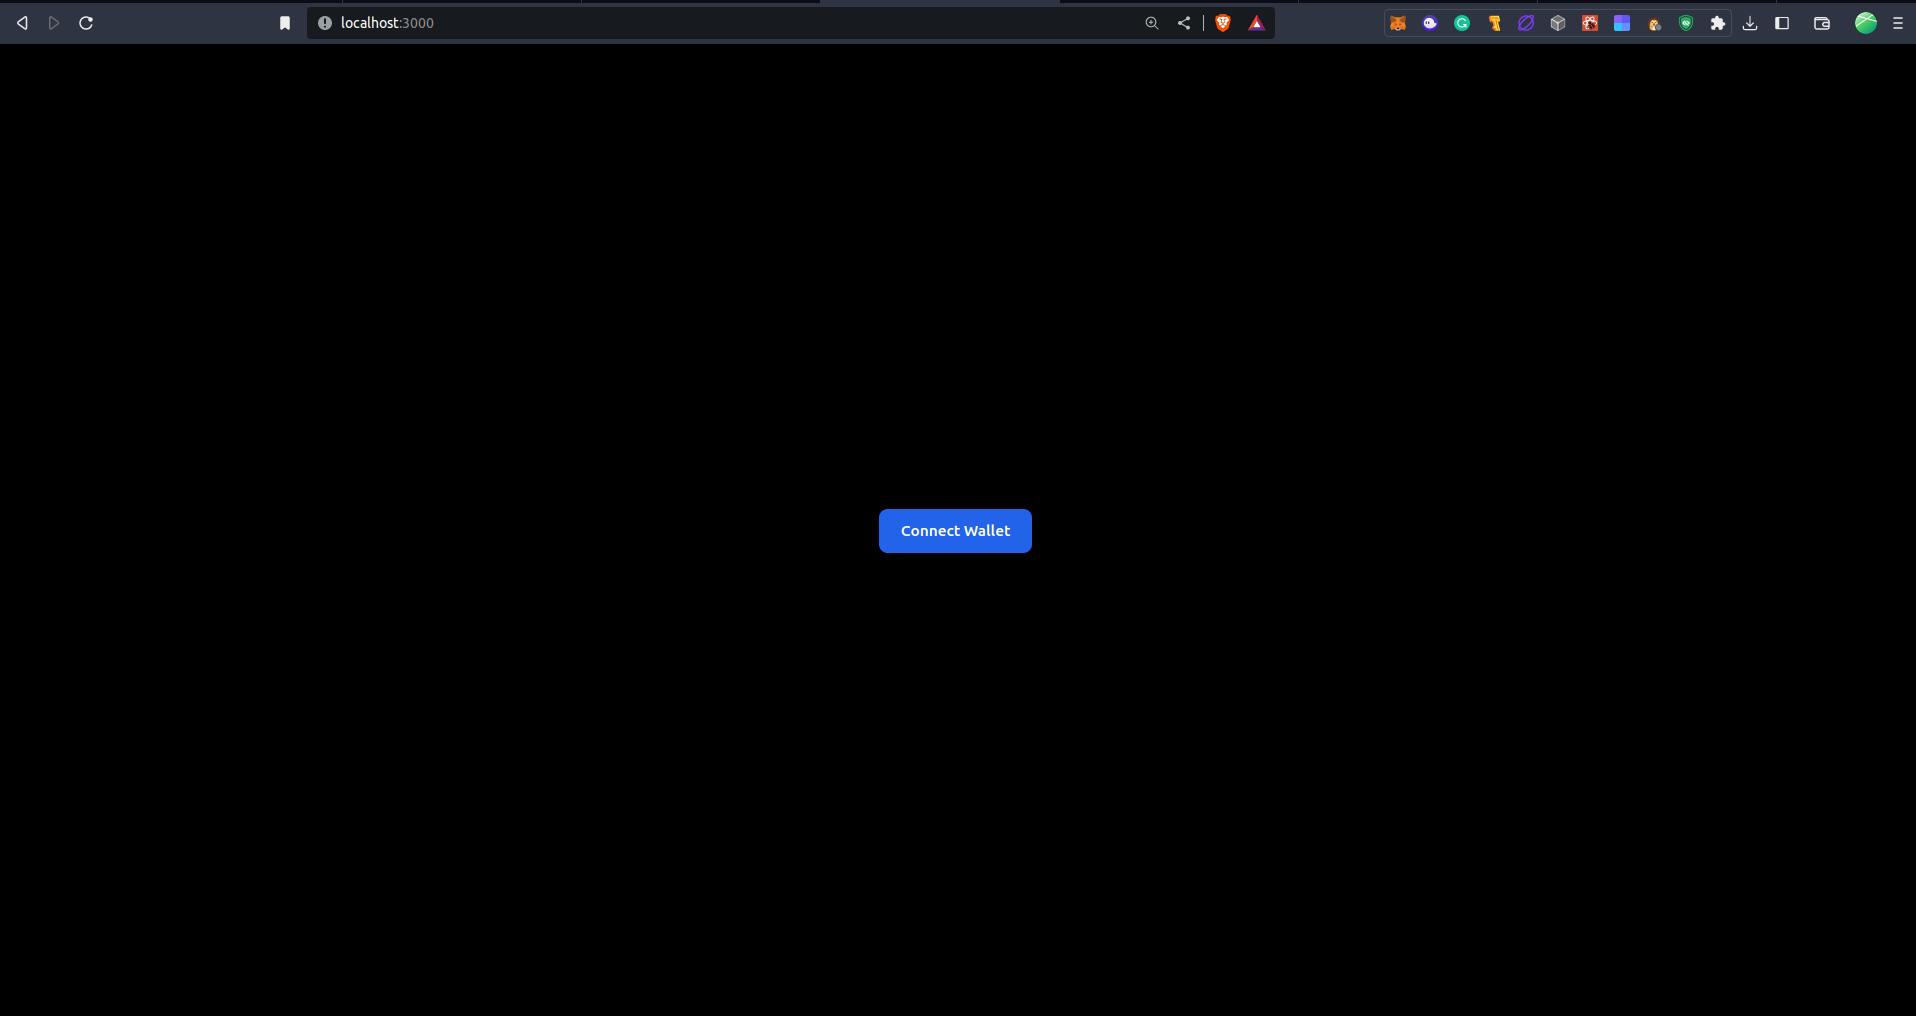
Click on connect wallet and you will see something like this.
You will not see the messages as there are no messages yet.
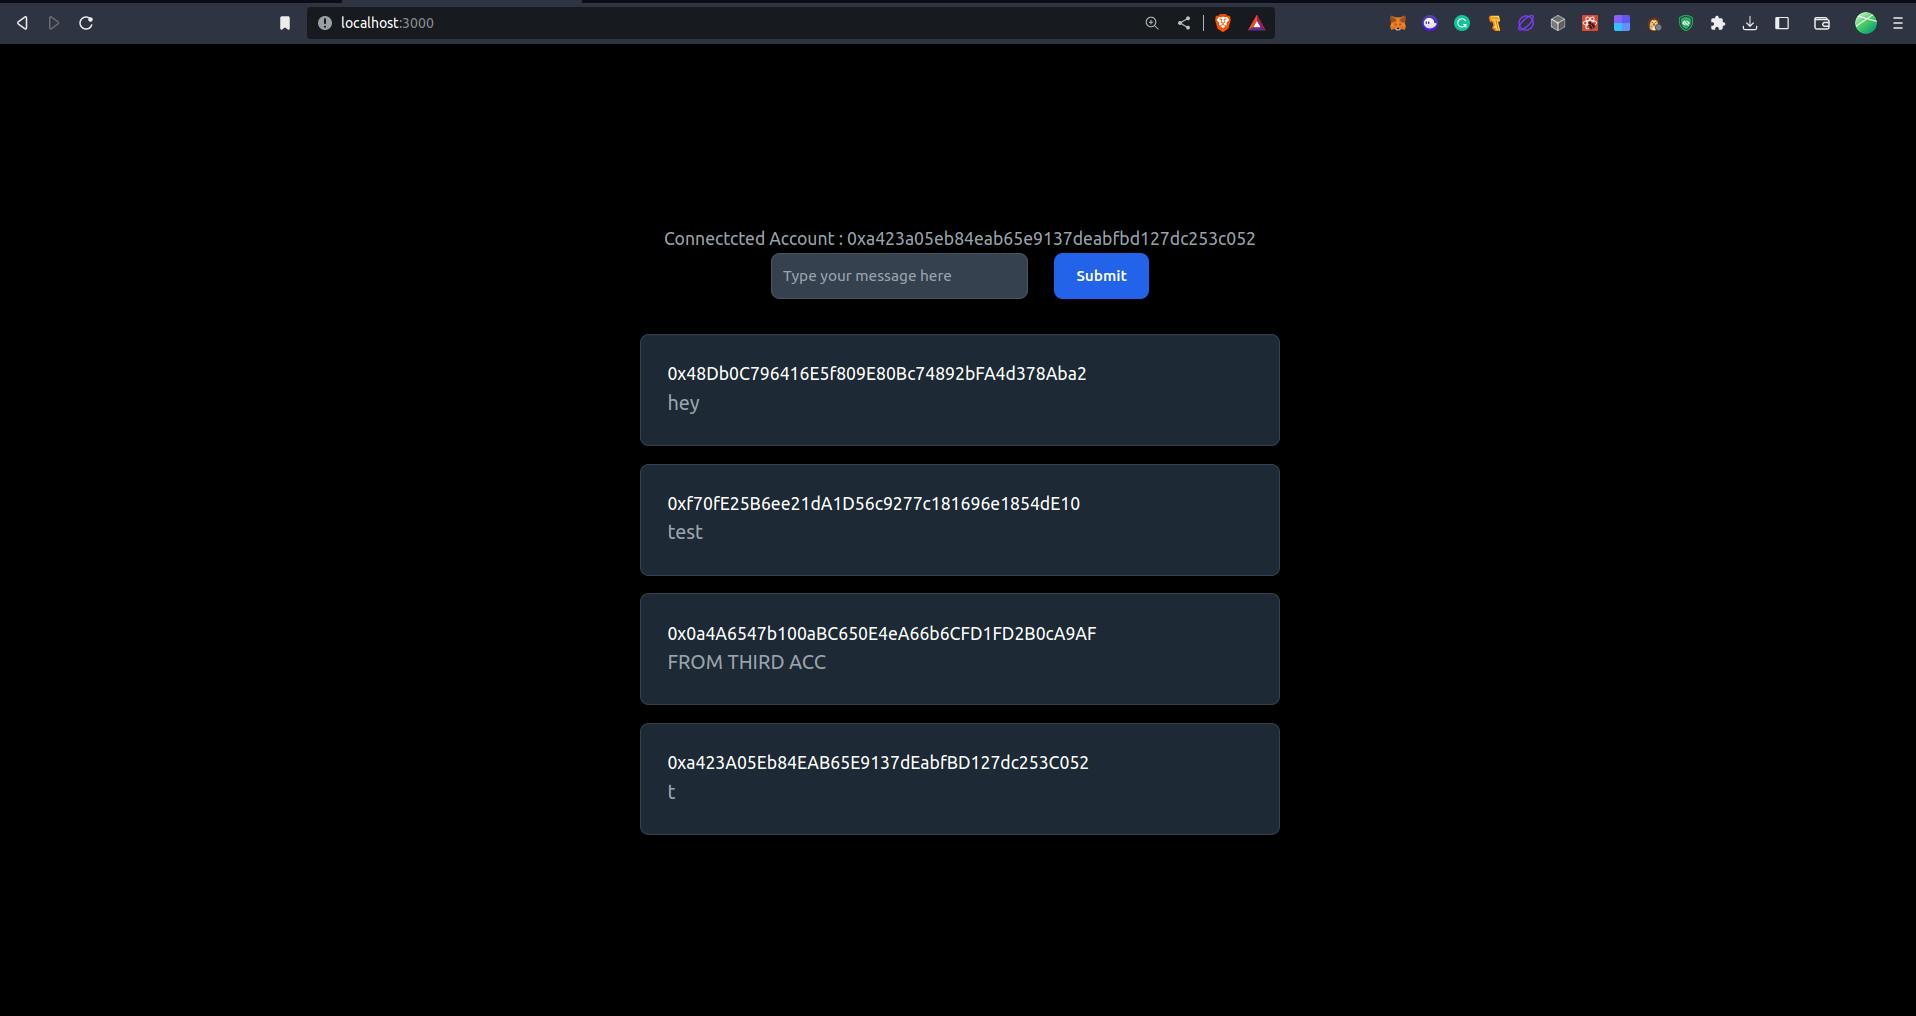
Type your message and hit submit button.
Upon Hitting the submit button, you will be prompted to sign the message.
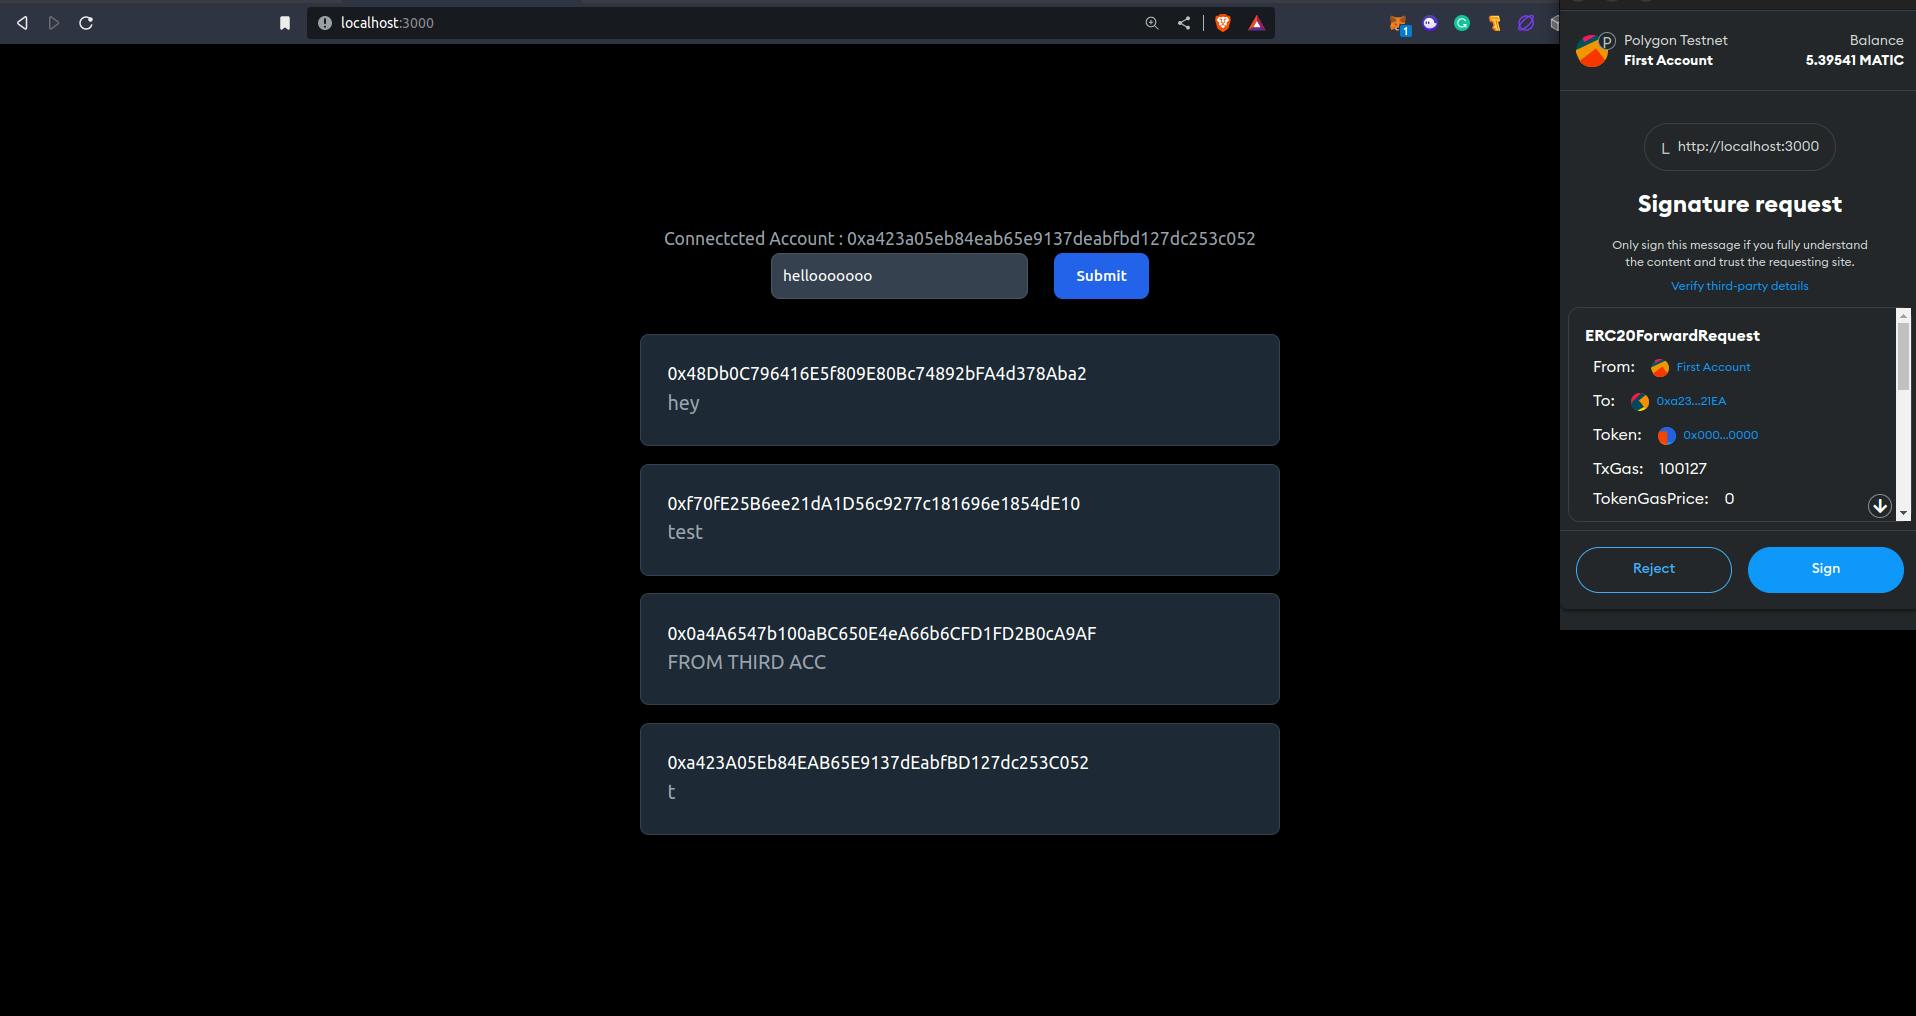
Sign the message and wait for the transaction to be confirmed, once confirmed, refresh the page and you will see your message.
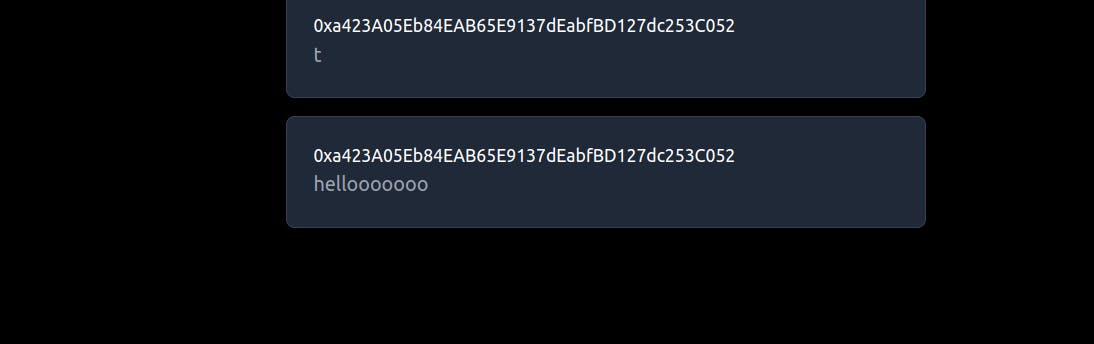
Congratulations! You have just sent your first transaction without paying gas fees.
In this section, we discussed how to enable gasless transactions using the Biconomy Trusted Forwarder. In the next section, we will explore how to implement this with our custom smart contract.
If you have made it this far, give yourself a pat on the back!
If you have any queries, feel free to reach out to me on Twitter. Follow me for my latest blog updates:
Twitter: https://twitter.com/theviveksuthar
GitHub: https://github.com/VIVEK-SUTHAR
My Portfolio: https://devvivek.tech/
Until next time, keep coding and debugging!