Upload your Files to IPFS: An Easy guide
Using Web3.storage By File-coin, We are going to upload our files to IPFS with a cool front-end


Table of contents


No headings in the article.
If you are building a decentralized App, in most cases you need to store your images, files, and videos on a decentralized platform like IPFS, File coin, or Filebase, so in this blog, we will discuss how you can upload your files to File-coin network with the help of Web3. Storage, A tool by File-coin.
Before jumping to code first, let's discuss what is decentralized storage.
So As per the name, Decentralized storage means it is not centralized and all of your data is not stored at some data center that is controlled by a few. In Decentralized storage, users can store their data regardless of center. This system uses a peer-to-peer network model to achieve decentralization.
- IPFS[Inter Planetary File System] is a peer-to-peer hypermedia protocol designed to store and share data in a decentralized manner.Know about IPFS
So let us start our journey to upload files to IPFS using Web3.Storage.
Overview:
- We will have a front-end where the users can upload their files and After uploading the file, users can get a link to share the file, We are using ReactJS for our front-end part.
Prerequisites:
- NodeJS installed on your machine [If not you can install it from here Download NodeJS]
-A Account on Web3.Storage You can create one for free
-A basic knowledge of JavaScript(of course not mandatory)
So Let's start.
- Open your Terminal and run this command
npx create-react-app filecoin-upload-demo
This will create a basic ReactJS Application for us.
- Now in the terminal run
cd filecoin-upload-demo
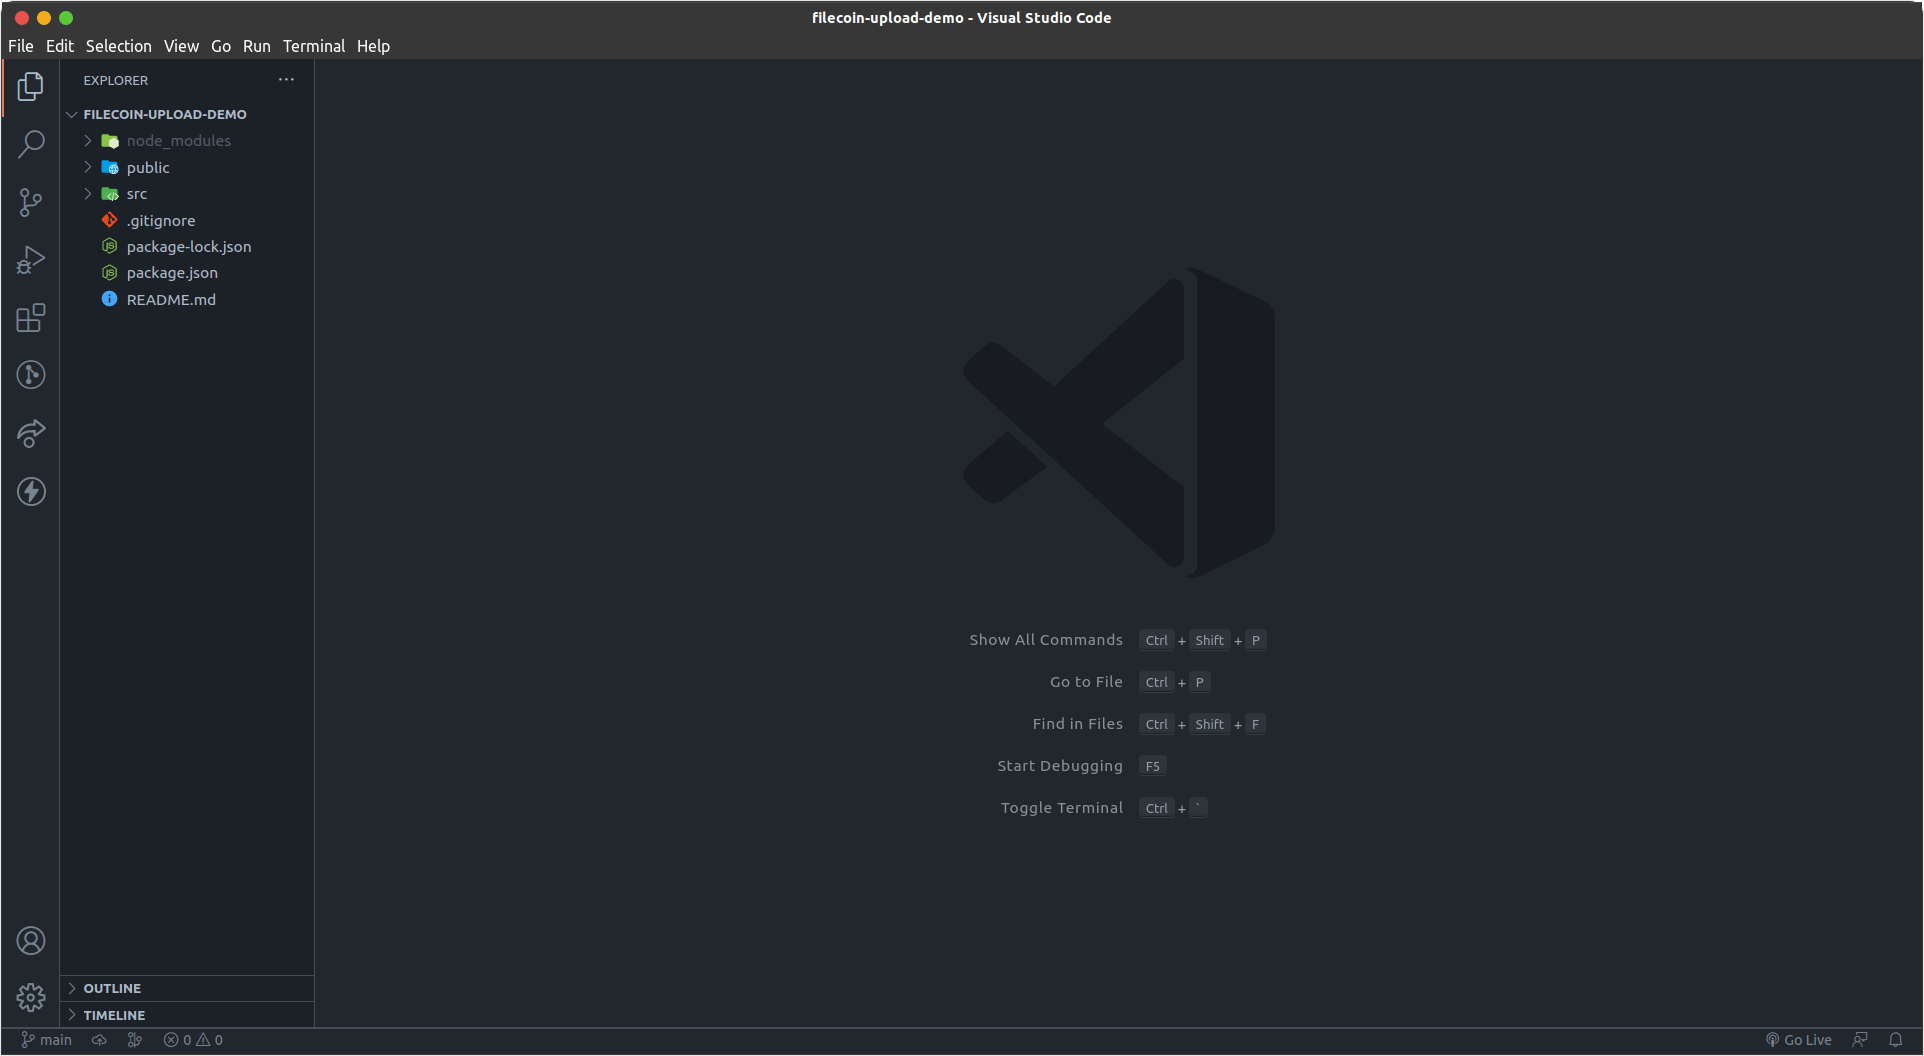
Now Open this folder with VS Code For this you can type code . in terminal or right click and select open with code
At this point your folder structure should look like this:
Now Open the terminal in VS Code by pressing ctrl+shift+` or Click on Terminal->New terminal
Now in the terminal run the below command
npm install web3.storage dotenv
This will install web3.storage js client and dotenv for loading local environment
Now create a file with the name .env, In this file, we will keep our token of web3.storage
Now open .env file and paste the following code
REACT_APP_WEB3TOKEN=PASTE_YOUR_WEB3STORAGE_TOKEN_HERE
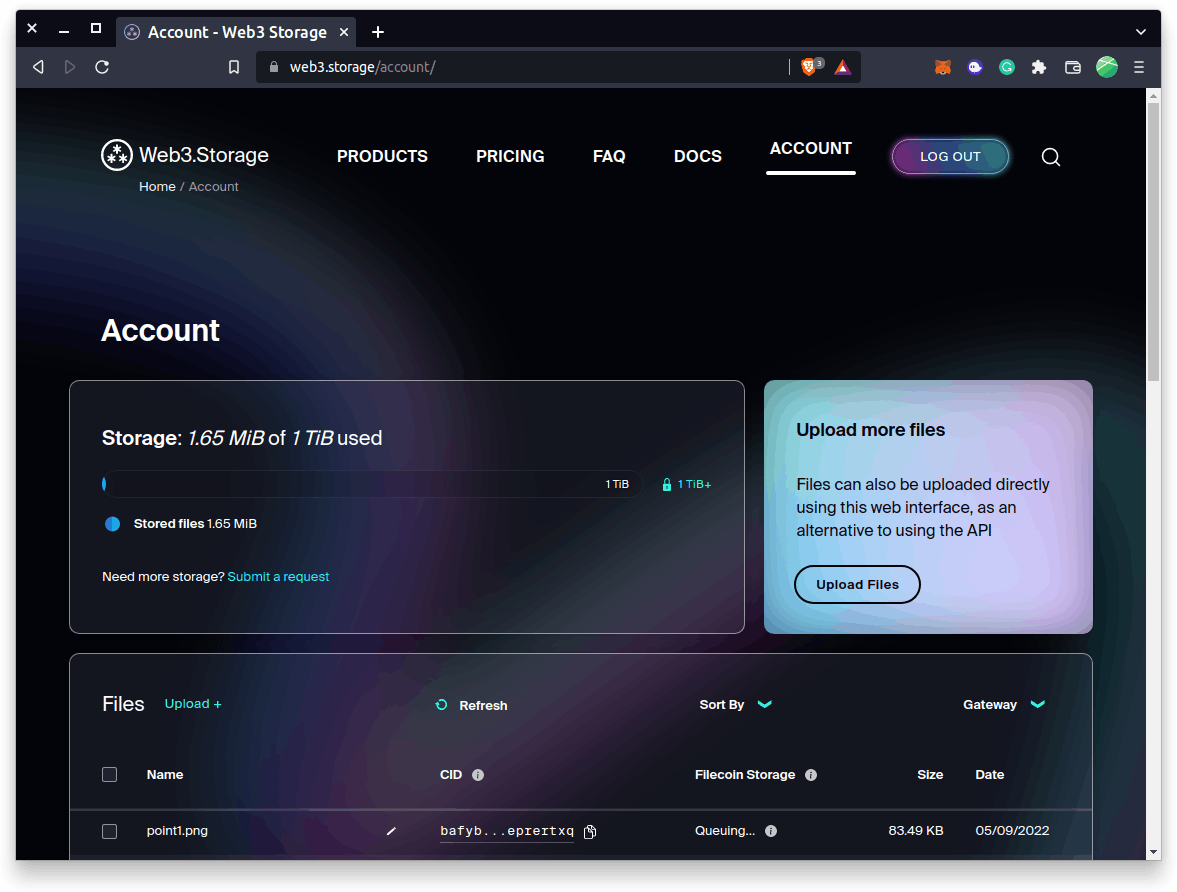
For the token navigate to Web3.storage and after login, you should see the screen like this
For creating your Token click on Account->Create An API Token
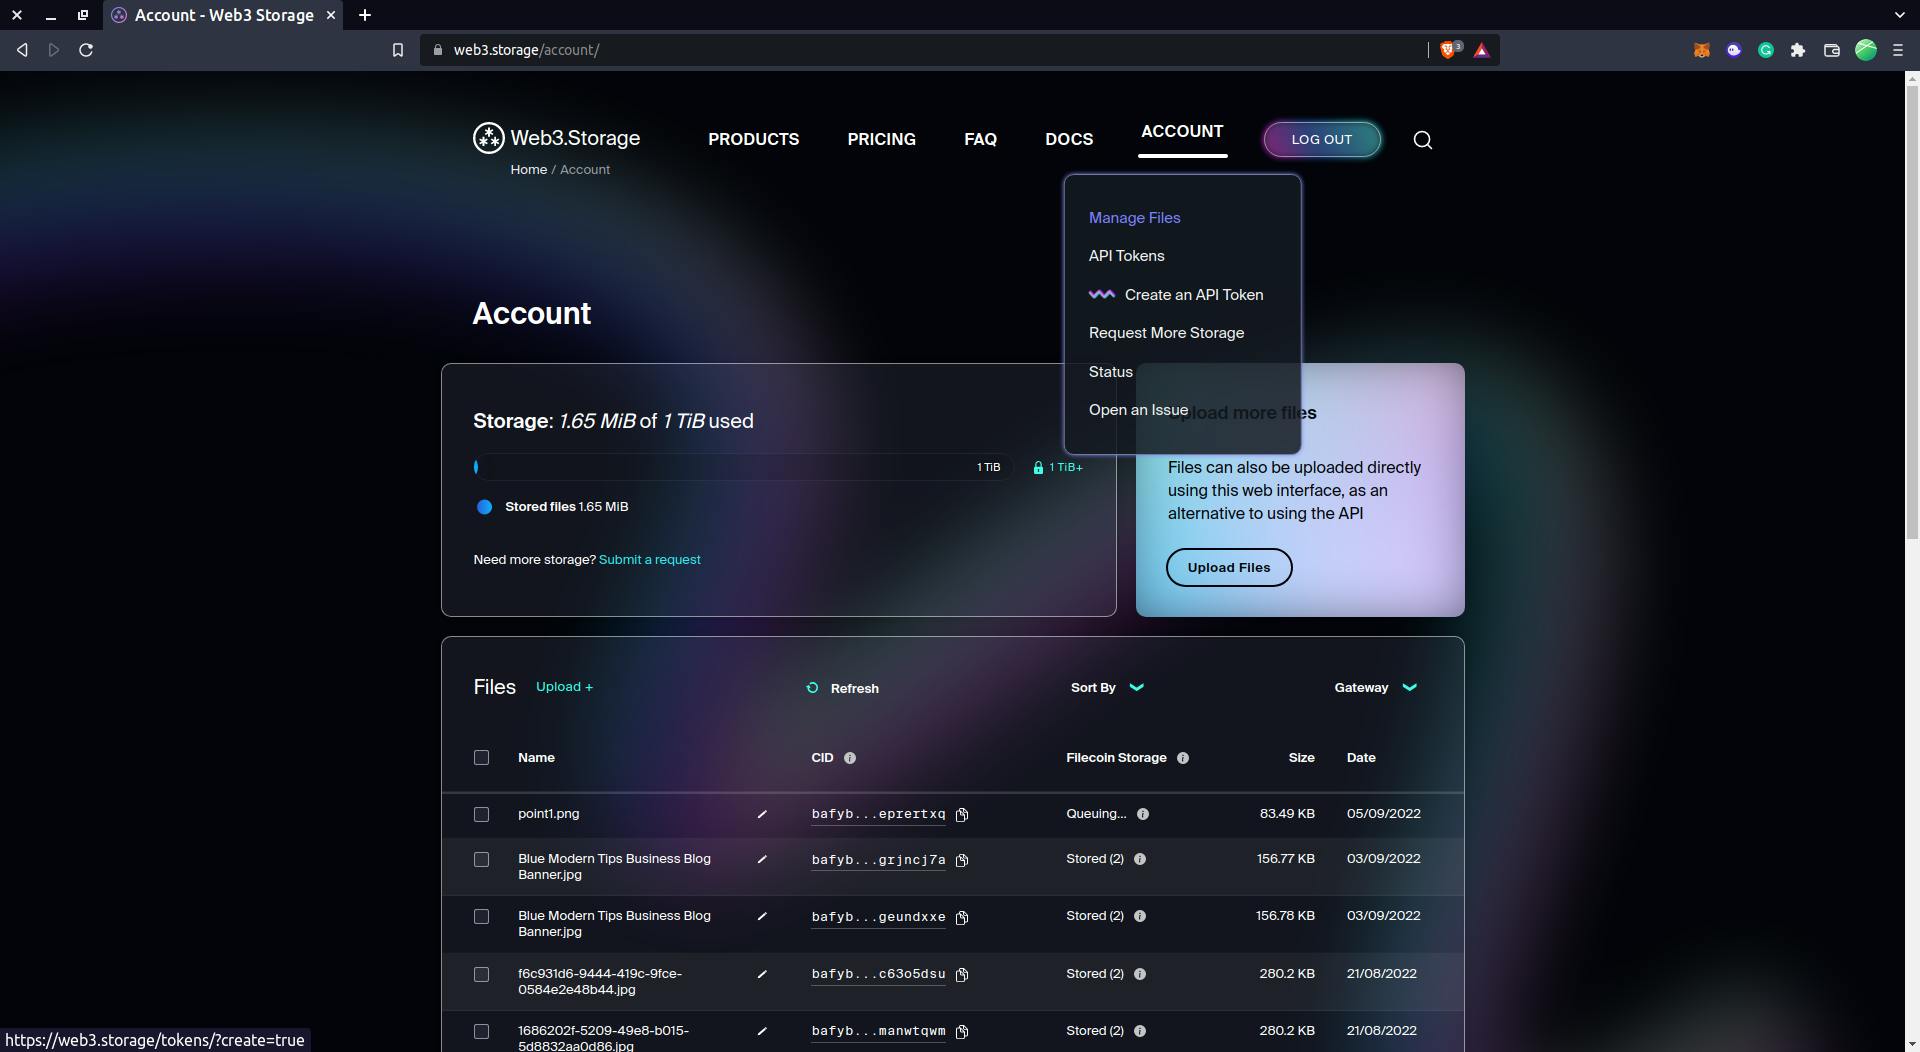
Now click on create an API token and enter the token name demo-upload and hit enter You should see your token
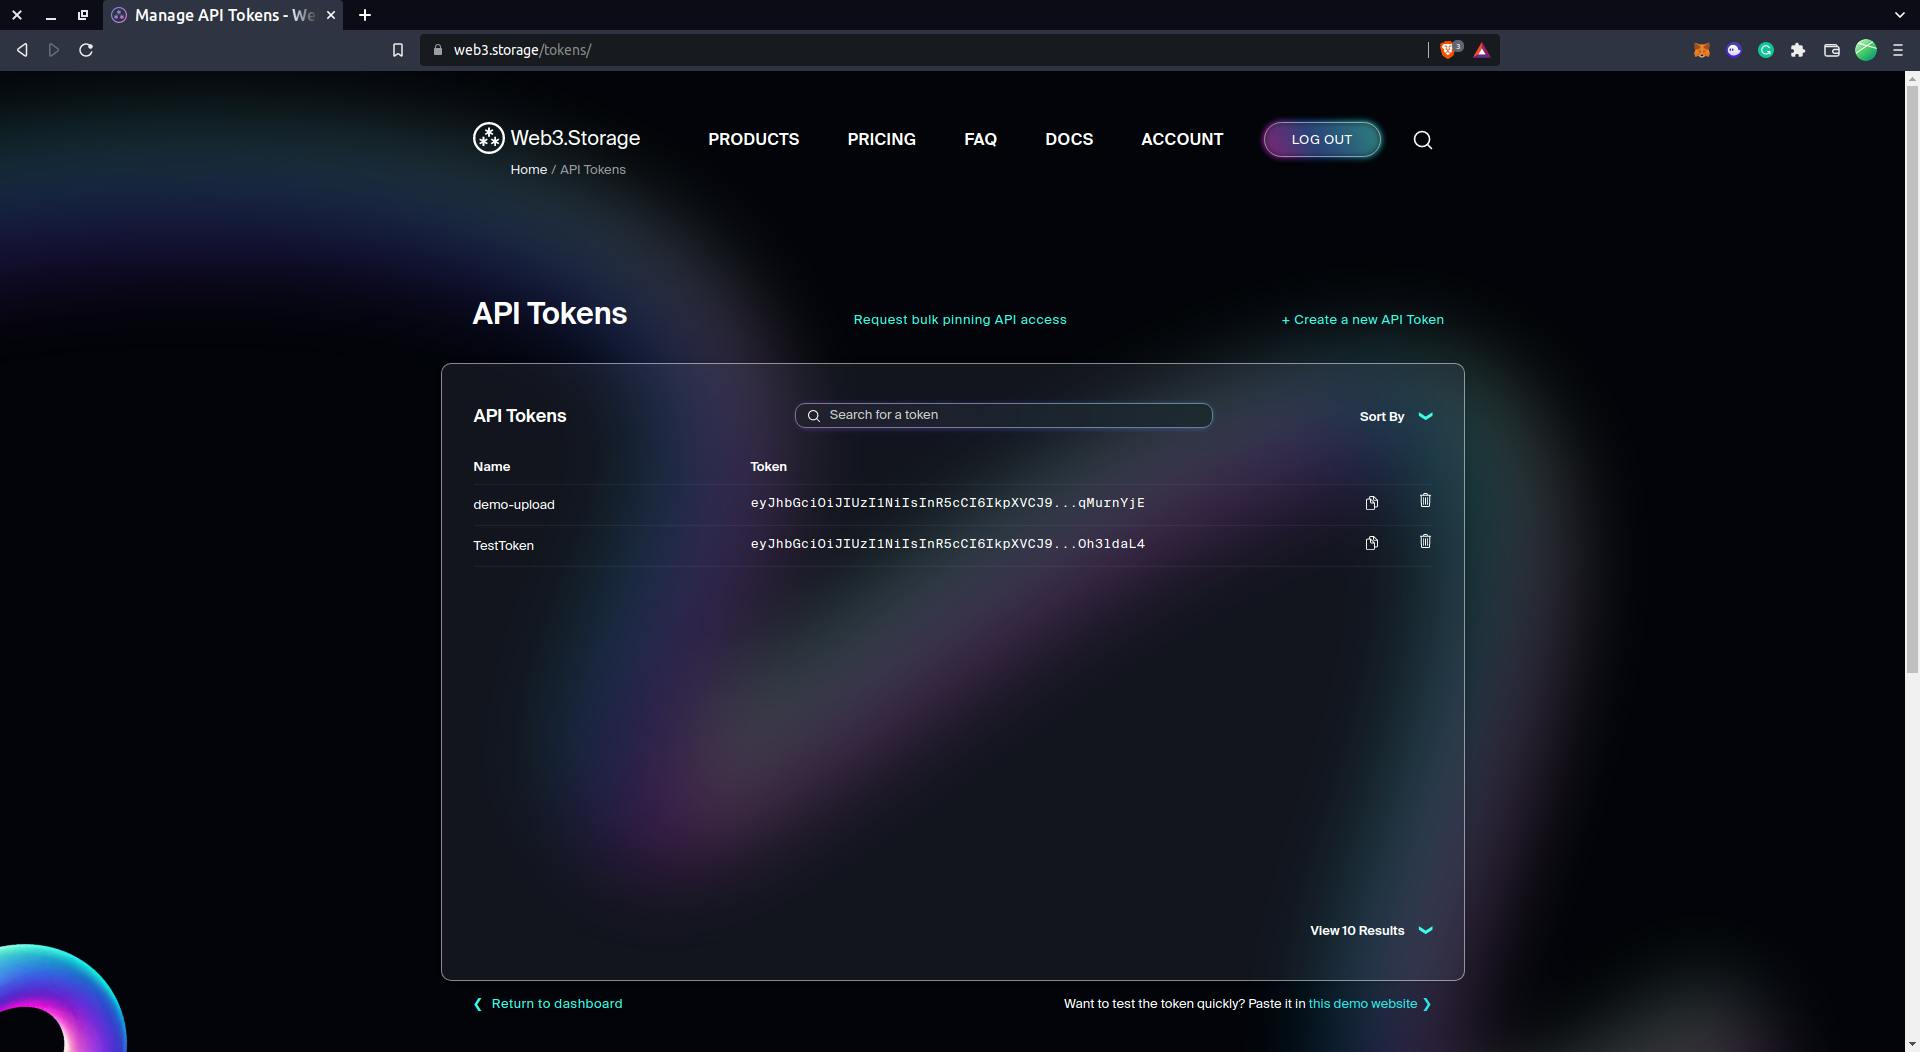
Now copy the token by clicking the copy icon next to the token and paste it at .env file
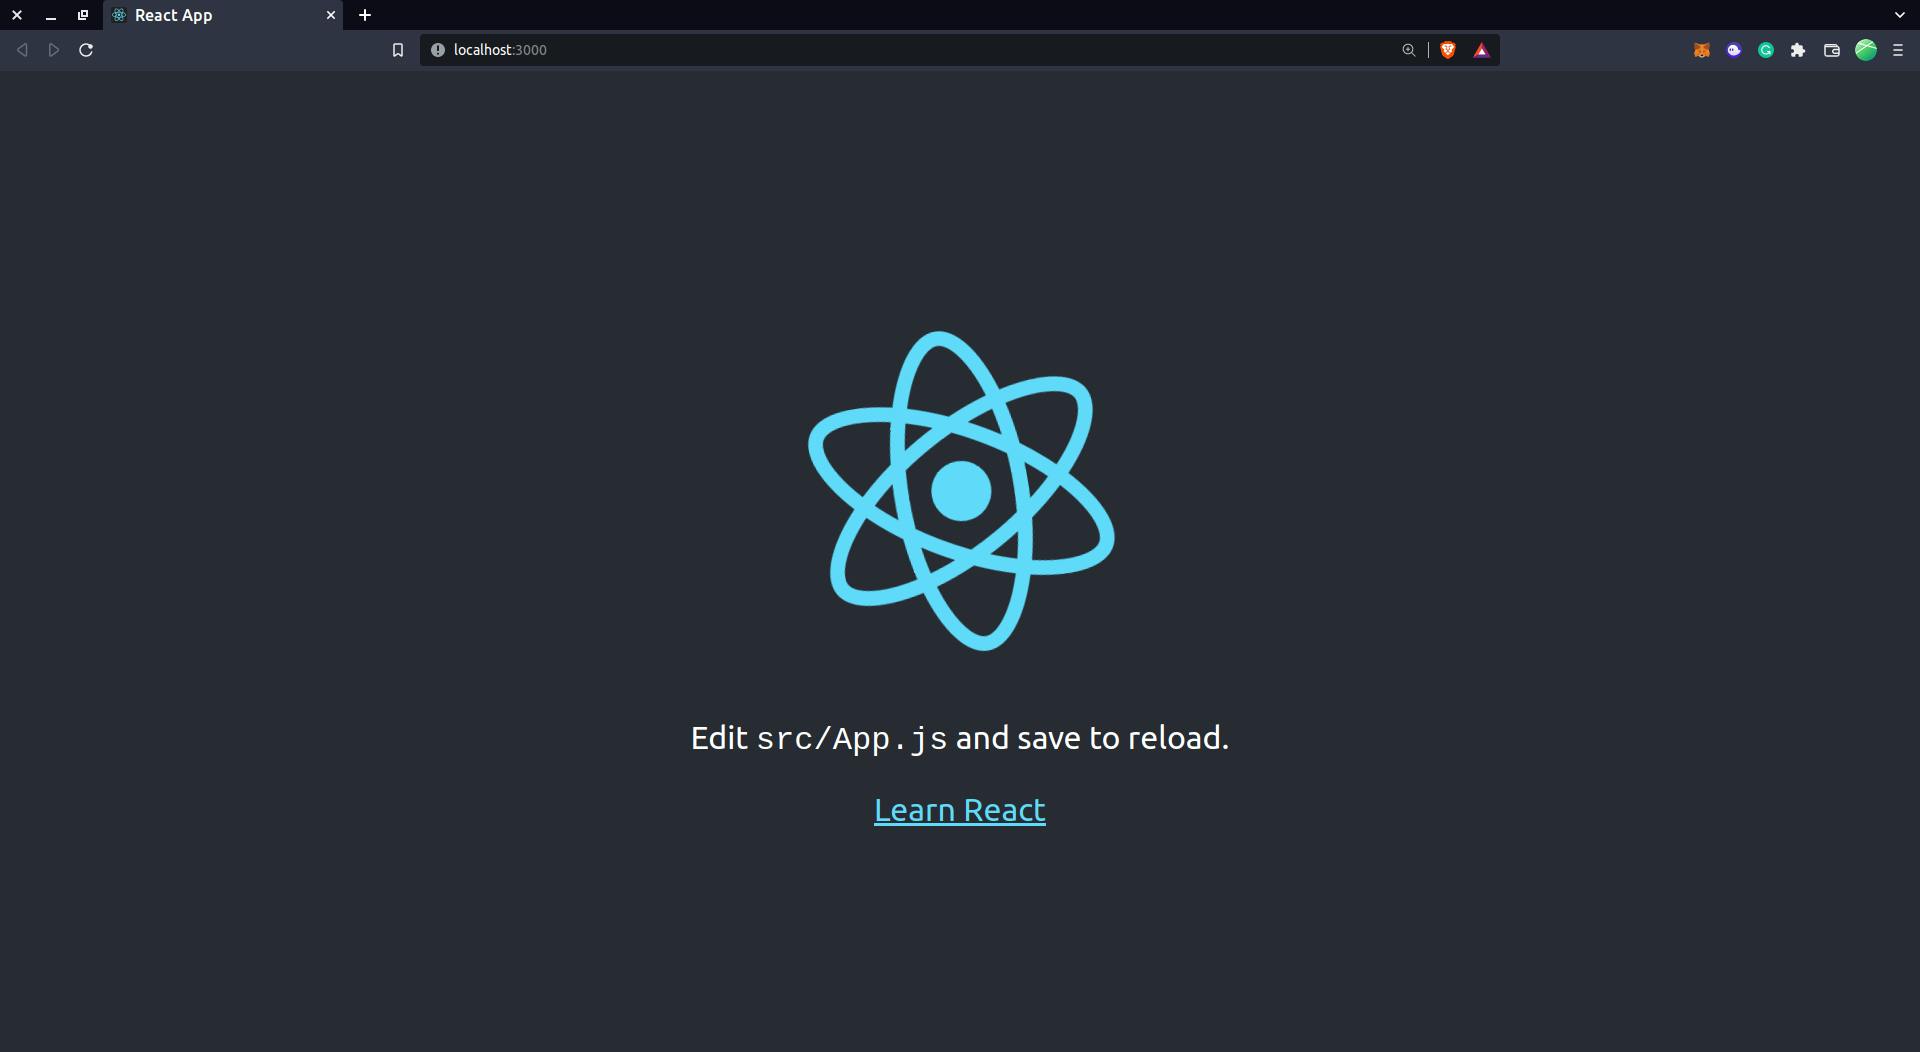
Now in Terminal run npm run start, this will start a development server for us
Now open your browser and goto localhost You should see the screen like this
Now open App.js and delete the default code.
So our project setup is done. Let's start coding
In the App.js
Paste the following code:
import "./App.css"
import { Web3Storage } from "web3.storage"
import { useState } from "react"
export default function App() {
    const [file, setFile] = useState(null)
    const [imageURI, setImageURI] = useState("")
    const [isUploading, setIsUploading] = useState(false)
    const client = new Web3Storage({ token: process.env.REACT_APP_TOKEN })
    const handleFileChange = (e) => {
        e.preventDefault()
        if (e.target.files[0]) {
            setFile(e.target.files[0])
        }
    }
    const uploadFile = async () => {
        setIsUploading(true)
        const fileToUpload = new File([file], file.name.split(" ").join(""), {
            type: file.type,
        })
        const cid = await client.put([fileToUpload], {
            name: file.name,
        })
        setImageURI(
            `https://${cid}.ipfs.w3s.link/${file.name.split(" ").join("")}`
        )
        setFile(null)
        setIsUploading(false)
    }

    return (
        <div className="container">
            <h1 className="title">Upload files with Web3.Storage</h1>
            {isUploading && <div className="uploading">Uploading file...</div>}
            <input
                className="input"
                type={"file"}
                onChange={handleFileChange}
            />
            {file && (
                <button className="upload" onClick={uploadFile}>
                    Upload File
                </button>
            )}
            {imageURI.length > 0 && (
                <div className="link">
                    <a href={imageURI}>Go To Your File</a>
                    {imageURI}
                </div>
            )}
        </div>
    )
}
Let's understand the code line by line
import "./App.css"
import { Web3Storage } from "web3.storage"
import { useState } from "react"
Here We are importing Our CSS File, Web3Storage module, and useState hook.
export default function App(){ is exporting a React Component with the name App Inside of this, Our entire code is wrapped
 const [file, setFile] = useState(null)
 const [imageURI, setImageURI] = useState("")
 const [isUploading, setIsUploading] = useState(false)
Here we are declaring three states
file: To keep track of the file that the user has selected
imageURI: When the upload is done we will update this state with the Image's URL.
isUploading : Of course, we need to show the loader until the file is uploaded, to keep track of this we are having this state and by default the value is false;
Don't get overwhelmed by useState, it's just a hook by React to keep track of variables.
const handleFileChange = (e) => {
      e.preventDefault()
      if (e.target.files[0]) {
        setFile(e.target.files[0])
      }
    }
This is the function that handles the file selected by the user and this function is called when the user selects any file e.preventDefault() prevents the page from reloading
if the user has selected any file then the if condition is true and we are updating our file state with the user-selected file.
Now The Main Function which uploads the file to IPFS
Yes it's the uploadFile function
const uploadFile = async () => {
      setIsUploading(true)
      const client = new Web3Storage({ token: process.env.REACT_APP_TOKEN })
        const fileToUpload = new File([file], file.name.split(" ").join(""), {
            type: file.type,
        })
        const cid = await client.put([fileToUpload], {
            name: file.name,
        })
        setImageURI(
            `https://${cid}.ipfs.w3s.link/${file.name.split(" ").join("")}`
        )
        setFile(null)
        setIsUploading(false)
    }
So you notice that the function is async, what does it mean
It simply means that uploading the file can take some time and we want to code execute one by one
As soon as the function is called, We are setting the upload state to true it will display the loader.
After that, we are initializing Web3.Storage class by const client=new Web3Storage({token:REACT_APP_TOKEN})
Web3.Storage needs our token for verification, So we are providing the token by process.env.REACT_APP_TOKEN
It will simply load the environment Variable from our .env file to our Site
After that, we are preparing our file for Upload by
const fileToUpload = new File([file], file.name.split(" ").join(""), {
            type: file.type,
        })
This will create a new File in the browser environment by invoking the File Class
It takes the blob, the name of the file, and the file type
Now our file is ready for upload,
  const cid = await client.put([fileToUpload], {
            name: file.name,
        })
This will call the client.put method and it takes our file and name as an argument and returns the file hash
By using await we are waiting for the upload to be done.
Hooray 🎉 🎉🥳 Our file has been uploaded to IPFS
Wait wait wait What about giving the file URL to the user.
After that, we are setting our imageURI state, then we will clear the file state and disable the loader
setImageURI(
            `https://${cid}.ipfs.w3s.link/${file.name.split(" ").join("")}`
        )
        setFile(null)
        setIsUploading(false)
Now if you go to localhost
You should see the screen like this :
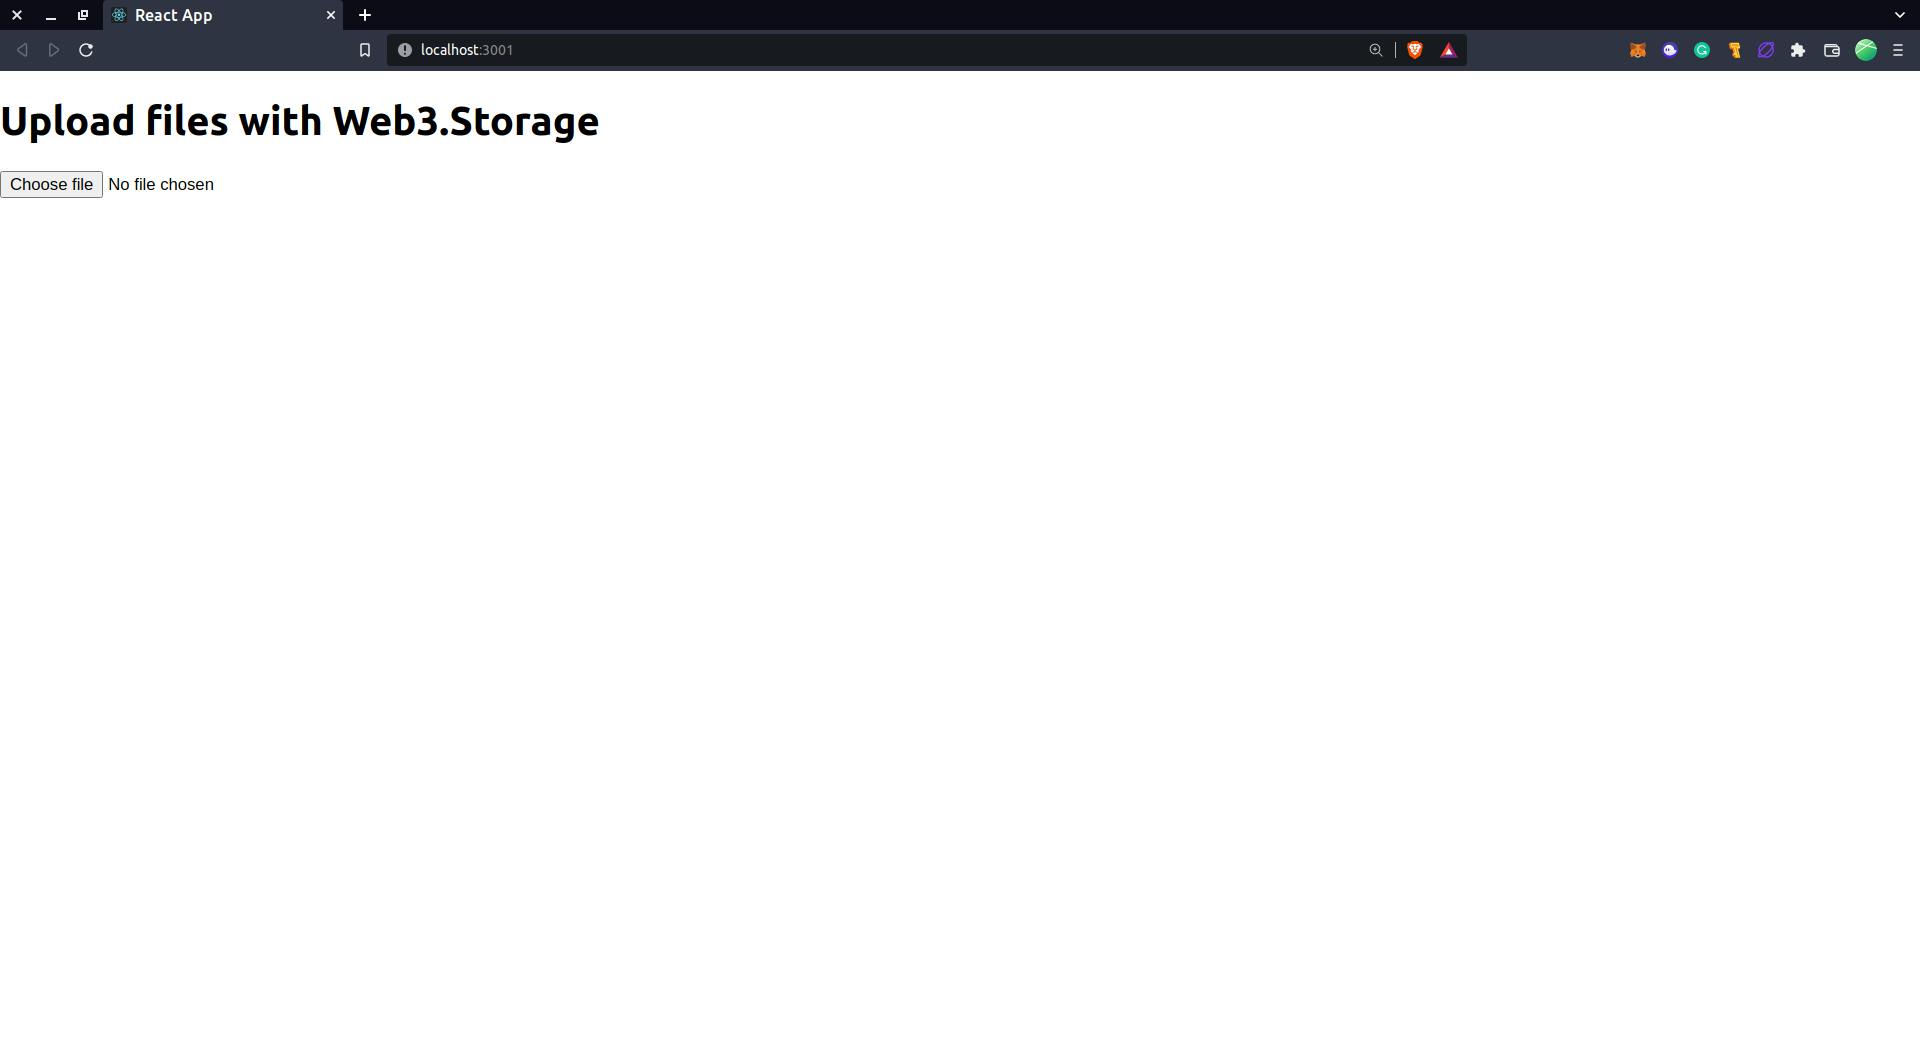
Still, Its looks like an old-age site, Let's add some CSS to it.
Now Open your App.css and Paste the following code
.container {
  min-height: 100vh;
  background-color: #2c2c2c;
  display: flex;
  flex-direction: column;
  align-items: center;
  justify-content: space-around;
}
.title {
  color: aqua;
}
.input::-webkit-file-upload-button {
  background-color: orchid;
  padding: 10px;
  outline: none;
  border: none;
  color: aliceblue;
  border-radius: 5px;
  font-size: 1.5rem;
}
.upload {
  background-color: blueviolet;
  padding: 10px;
  outline: none;
  border: none;
  color: aliceblue;
  border-radius: 5px;
  font-size: 1.5rem;
}
a {
  color: aquamarine;
}
.link {
  display: flex;
  flex-direction: column;
  justify-content: center;
  align-items: center;
  color: aquamarine;
  font-size: 1.4rem;
}
.uploading {
  color: orchid;
  font-size: 1.2rem;
  animation: upload 1.2s ease-in-out infinite;
}
@keyframes upload {
  0% {
    font-size: 1.2rem;
    opacity: 1;
  }
  50% {
    font-size: 1.5rem;
    opacity: 0.5;
  }
  100% {
    font-size: 1.2rem;
    opacity: 1;
  }
}
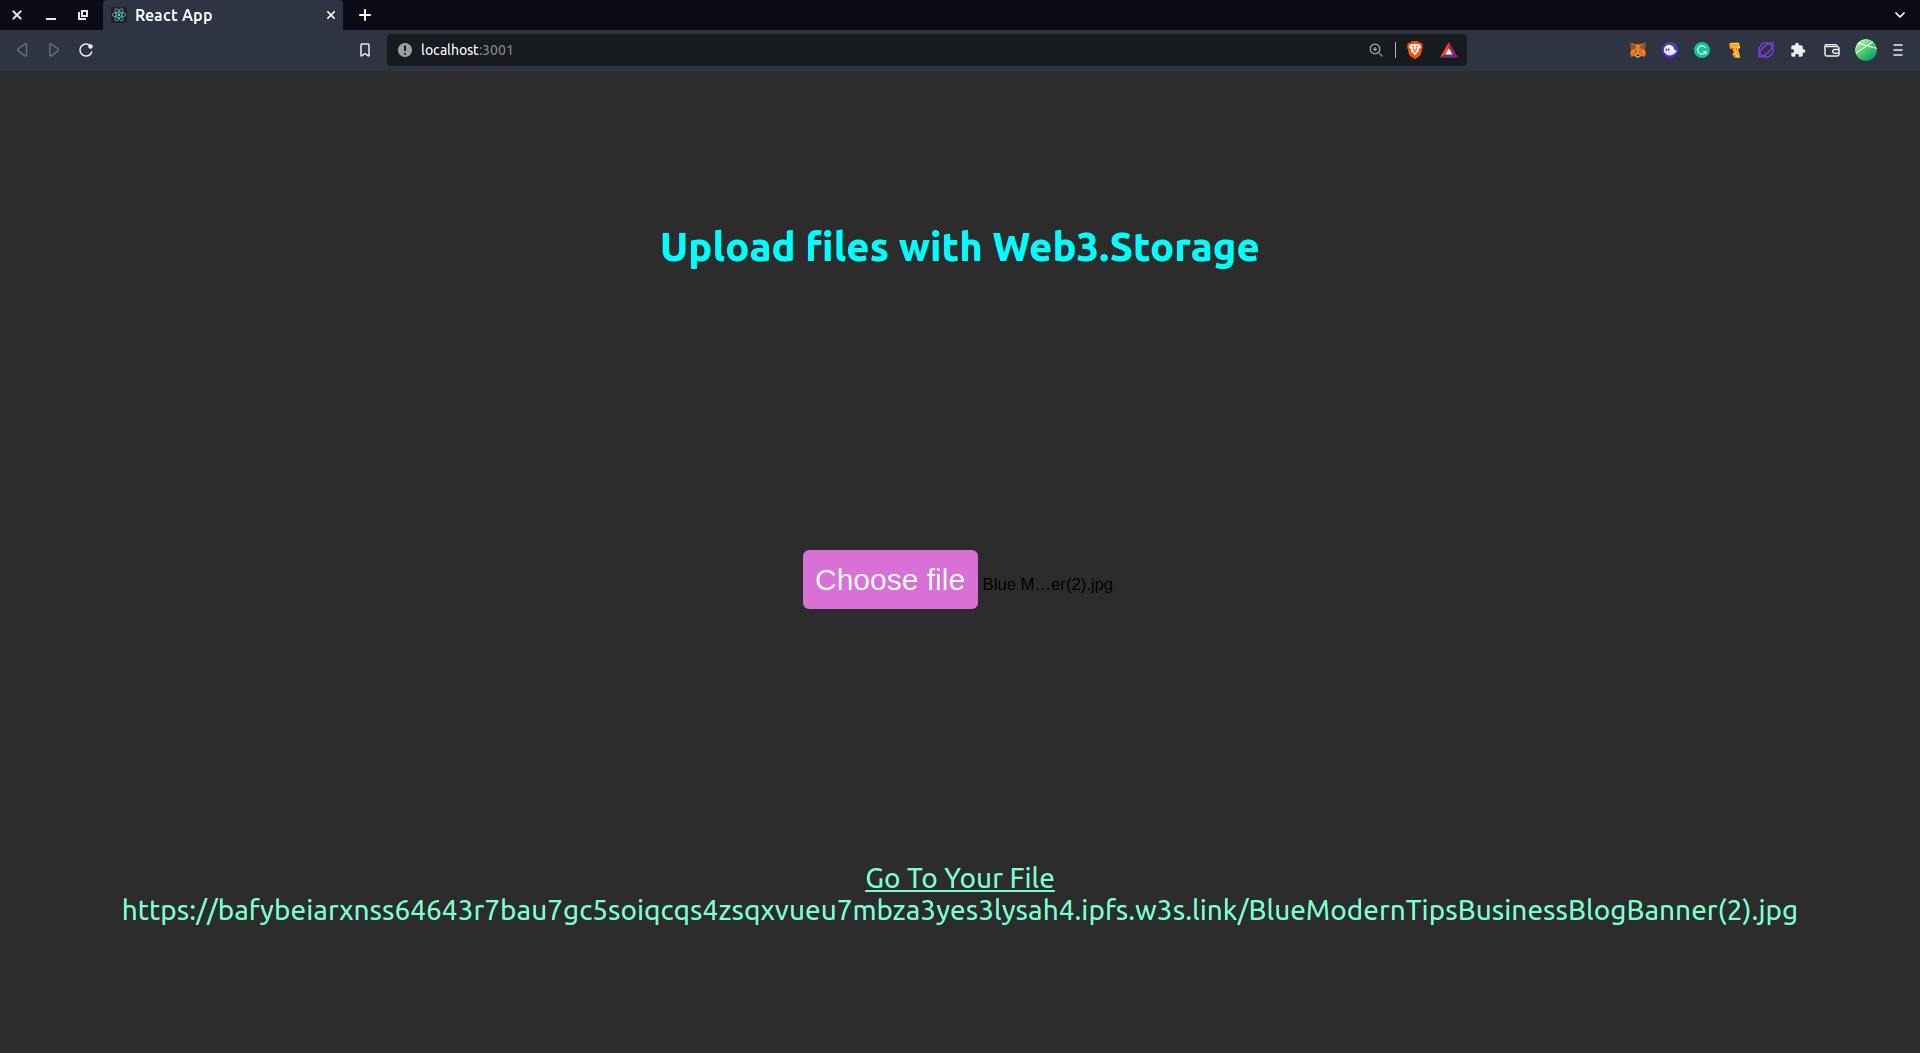
Now our page should look like this
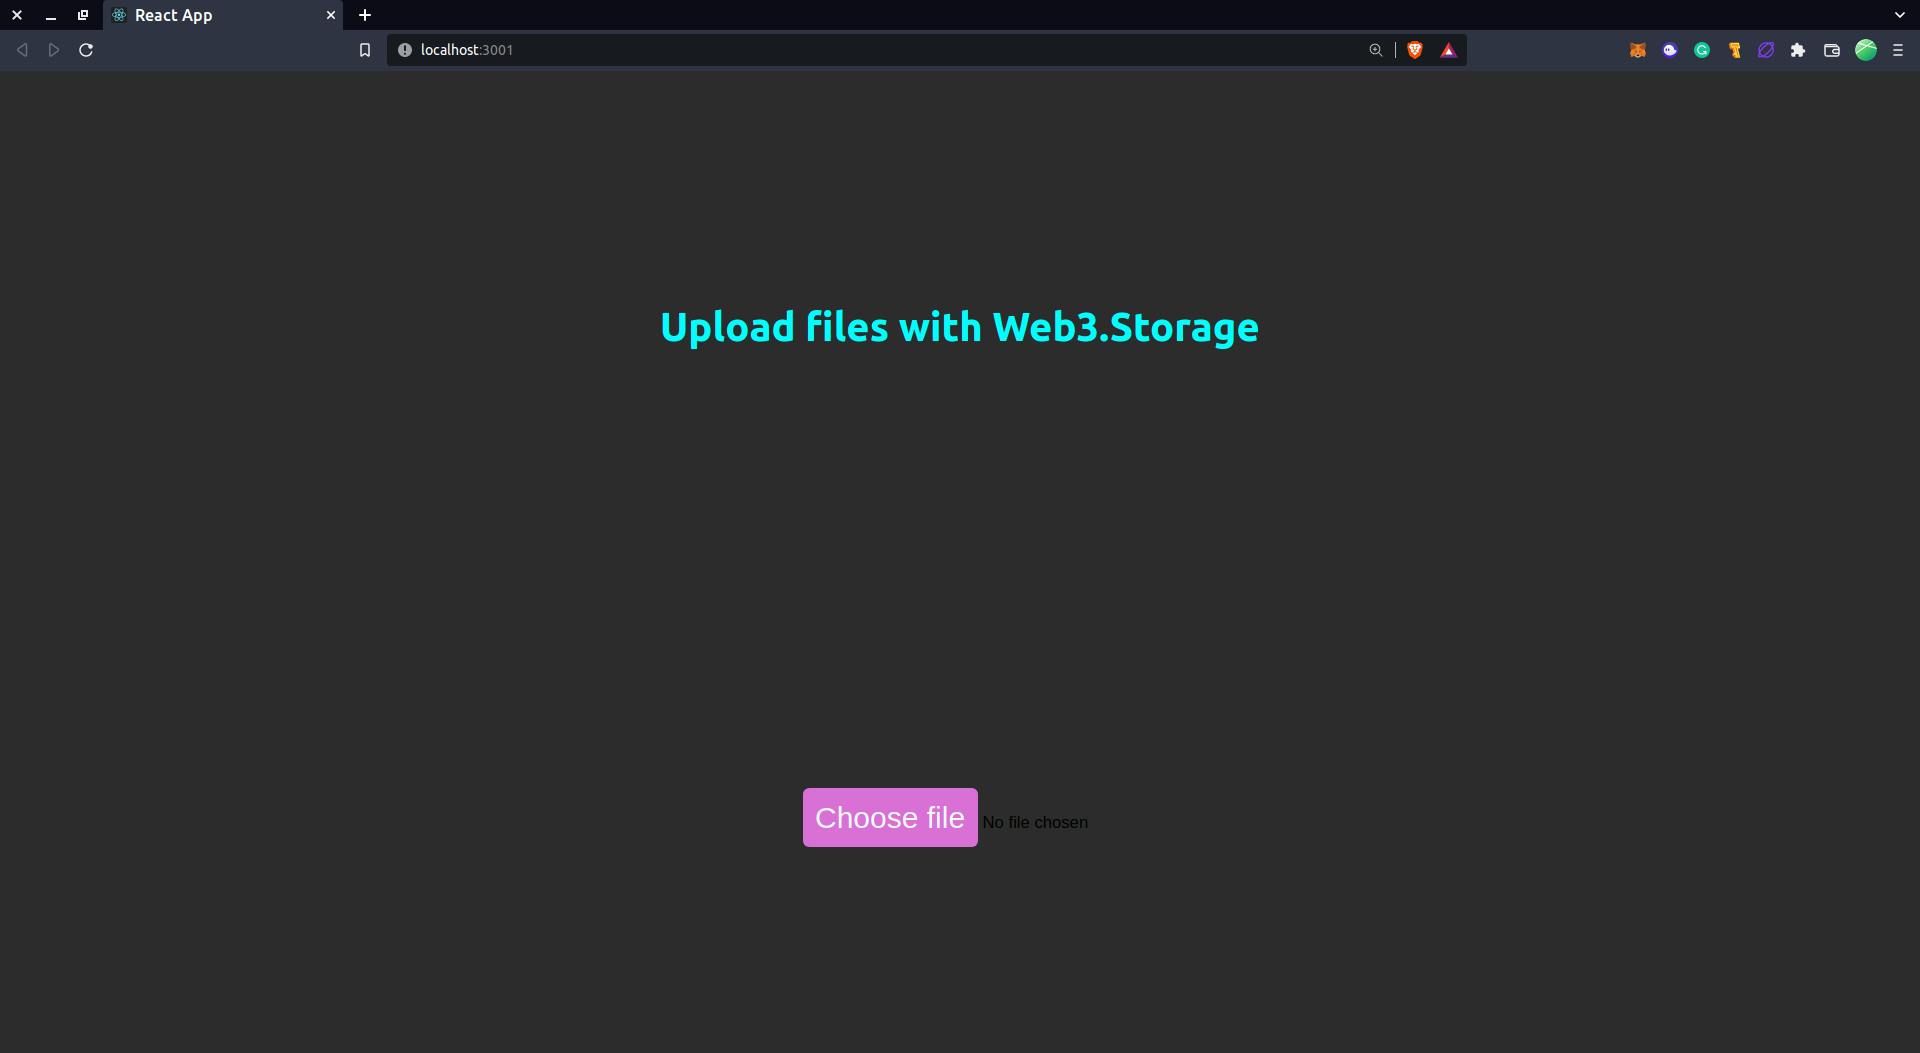
Now Click on Choose file, Select the file you want to upload, and Press upload file button
After 1s or 2s you should see the link to your file which is now uploaded on IPFS.
So, if you followed until here,have a big clap for yourself
Until next, Keep coding, Keep Hustling
Feel free to contact me :
![]()
![]()
![]()